Artistic expression is a deeply personal and transformative experience that allows individuals to communicate, explore, and celebrate their creativity. The right tools and environment play a significant role in nurturing artistic expression, and arts and crafts lamps are an essential element in creating an inspiring workspace. These lamps provide focused and adjustable lighting, enhancing visibility and creating an atmosphere conducive to artistic exploration.
Part 1: Setting the Mood with Lighting
Level 1: Creating an Ambiance
- Enhancing Creativity: The right lighting sets the mood and ambiance, creating an environment where creativity can flourish. Soft and warm lighting can evoke a sense of tranquility and relaxation, allowing artists to tap into their imagination and express themselves freely.
- Establishing Focus: By providing focused and adjustable lighting, arts and crafts lamps help artists direct attention to specific areas of their artwork. This focused illumination helps artists stay engaged and maintain concentration, fostering a deeper connection with their creative process.
Level 2: Eliciting Emotions
- Emotional Impact: Lighting has the power to evoke emotions and set the tone for artistic expression. Bright and vibrant lighting can energize and inspire, while softer and diffused lighting can create a calm and contemplative atmosphere, influencing the emotional tone of the artwork.
- Enhancing Mood and Expression: The right lighting can enhance the mood and expression of an artwork. Artists can use lighting to emphasize certain elements, create shadows and highlights, or evoke a particular ambiance that aligns with the emotions they want to convey through their art.
Part 2: The Benefits of Adjustable Lighting for Artistic Exploration
Level 1: Precision and Detail Work
- Illuminating Details: Adjustable lighting allows artists to have precise control over the illumination of their work, ensuring that every detail is visible. This is particularly important for intricate and detailed artwork, such as fine line drawings or intricate brushwork.
- Shadow and Contrast Control: Adjustable lighting helps artists manipulate shadows and contrast. Providing them with more control over the depth and dimensionality of their artwork. This control allows for greater artistic expression and the ability to create visually striking pieces.
Level 2: Versatility and Adaptability
- Flexibility in Working Conditions: Adjustable lighting offers artists the ability to adapt to different working conditions and various mediums. Whether working with watercolors, sculpture, or mixed media, artists can alter the lighting to suit the specific needs of each project, enhancing their artistic exploration and expression.
- Experimentation and Exploration: The adaptability of arts and crafts lamps encourages artists to experiment with different lighting setups. This experimentation can lead to new discoveries, creative breakthroughs, and the exploration of unique artistic styles and techniques.
Part 3: Aesthetics and Inspiring Environments
Level 1: Creating an Inspiring Workspace
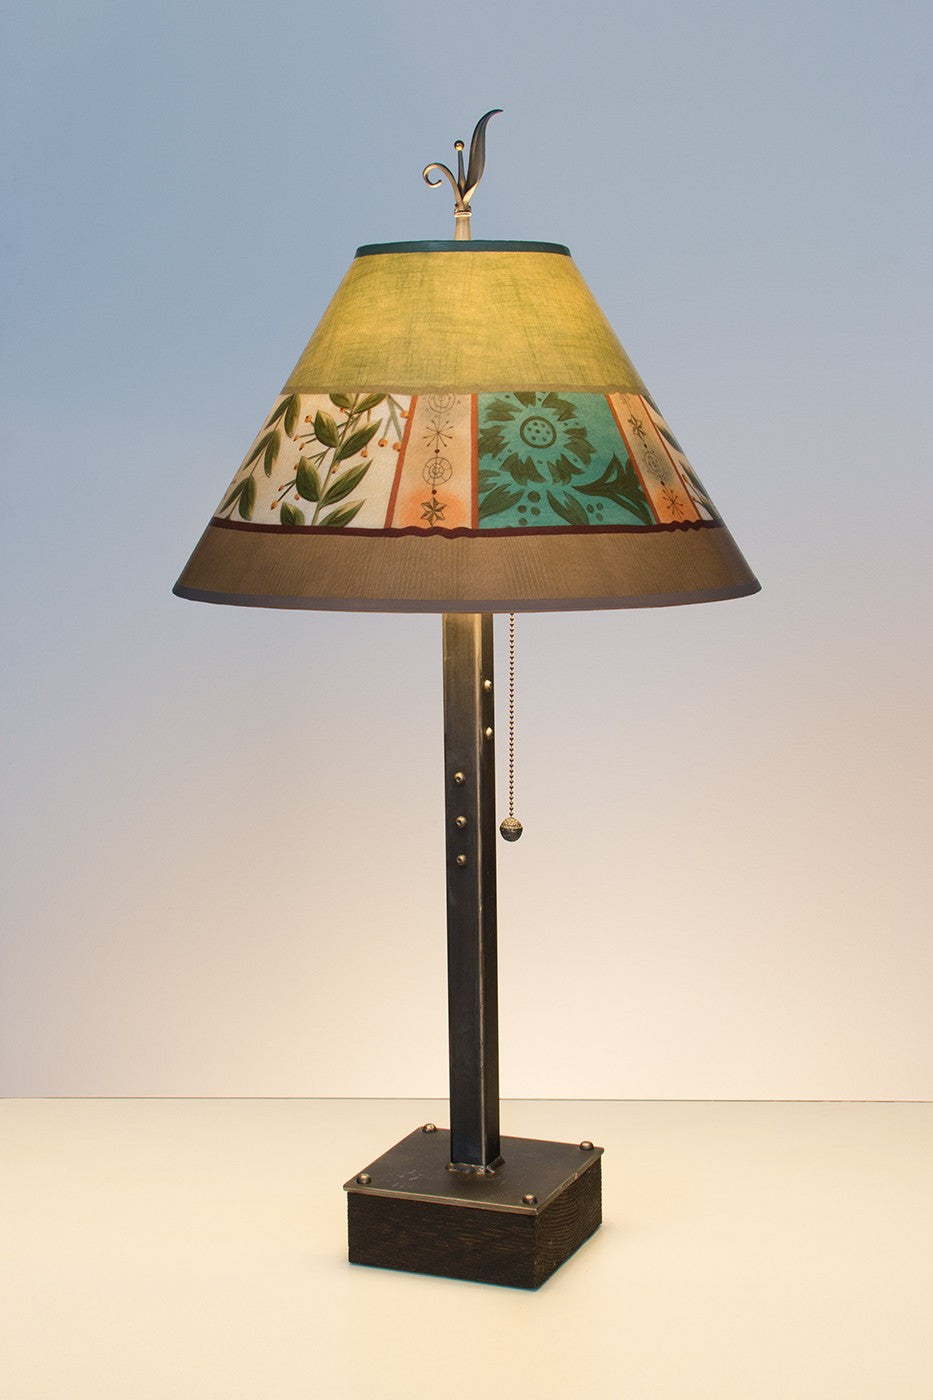
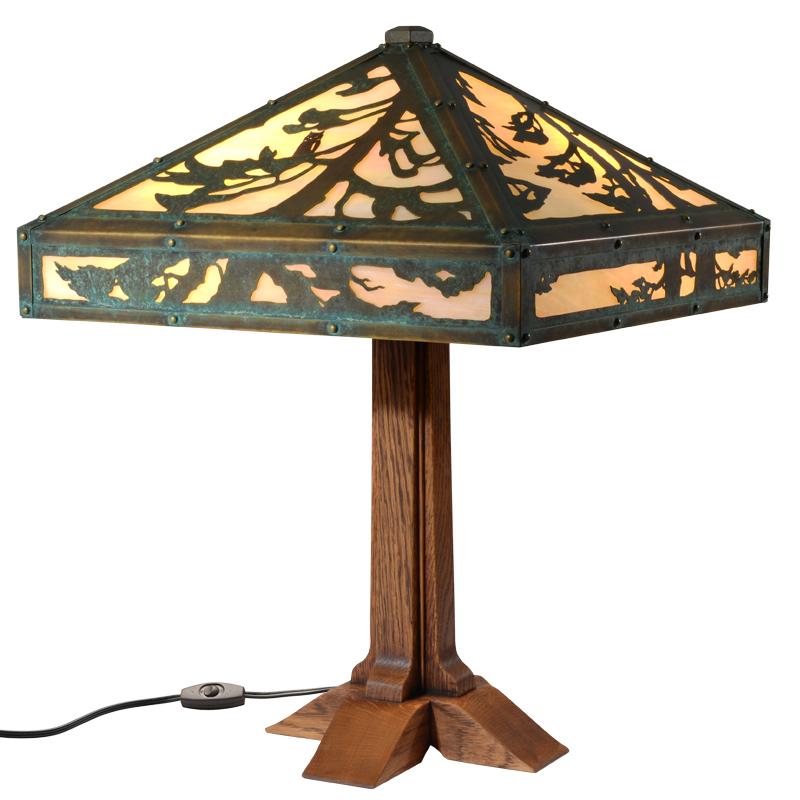
- Personalized Expression: Arts and crafts lamps come in a variety of designs, styles, and materials, allowing artists to select lamps that reflect their personal taste and artistic vision.
- Fostering Inspiration: An aesthetically pleasing workspace can foster inspiration and encourage artistic expression. The presence of a beautiful arts and crafts lamp not only provides functional lighting but also serves as a reminder of the artist’s commitment to their craft and their dedication to creating art.
Level 2: Visual Stimulation and Engagement
- Stimulating Creativity: Aesthetically pleasing arts and crafts lamps can stimulate creativity by providing visual stimulation and engagement. The design, shape, and color of the lamp can ignite the imagination and inspire new ideas and artistic approaches.
- Creating an Artistic Environment: An arts and crafts lamp, when combined with other inspiring elements such as artwork, plants, or meaningful objects, contributes to the creation of an artistic environment. This curated space fosters a sense of artistic identity and encourages artists to explore and express their creativity freely.
Conclusion:
Arts and crafts lamps play a vital role in inspiring artistic expression by setting the mood, providing adjustable lighting, and creating an inspiring environment. They contribute to the overall ambiance, and elicit emotions, allowing artists to fully immerse themselves in the creative process. The benefits of adjustable lighting for artistic exploration enable artists to achieve precision. Experiment with different techniques, and adapt to various mediums. The aesthetics of arts and crafts lamps create inspiring workspaces that stimulate creativity and provide visual engagement. By incorporating arts and crafts lamps into their creative environments, artists can unleash their artistic expression. And embark on a transformative journey of creative exploration and self-discovery.


:max_bytes(150000):strip_icc()/babyshower-0e6eb392057549069a03ec47aa6c4216.jpg)