
Chandeliers are elegant and eye-catching lighting fixtures that can transform the ambiance of any space. However, they often come with a hefty price tag. With a little creativity and DIY spirit, you can create your own arts and crafts chandelier that not only adds a unique touch to your home decor but also fits within your budget. We will explore three key parts, each containing two levels of content, to provide you with inspiration and ideas for crafting your own budget-friendly arts and crafts chandelier.
Part 1: Repurposing Everyday Items
Level 1: Mason Jar Chandelier
- Materials Needed: Gather a set of mason jars, a wooden or metal base, pendant light cords, and light bulbs. You can find these items at your local craft store or repurpose them from old household items.
- Step-by-Step Guide: Attach the pendant light cords to the base, then place one mason jar over each cord. Securing them with clamps or metal rings. Finally, wire and hang the chandelier from the ceiling, ensuring the cords are properly secured. Enjoy the warm and rustic glow provided by the mason jars.
Level 2: Vintage Teacup Chandelier
- Materials Needed: Collect an assortment of vintage teacups and saucers, a metal or wire frame, a pendant light kit, and light bulbs. Thrift stores, flea markets, and online marketplaces are great places to find affordable vintage teacups.
- Step-by-Step Guide: Attach the pendant light kit to the metal or wire frame, then arrange the teacups and saucers on the frame, ensuring they are securely fastened. Connect the wires and hang the chandelier from the ceiling. The delicate and charming teacups will create a unique focal point in any room.
Part 2: Nature-Inspired Chandeliers
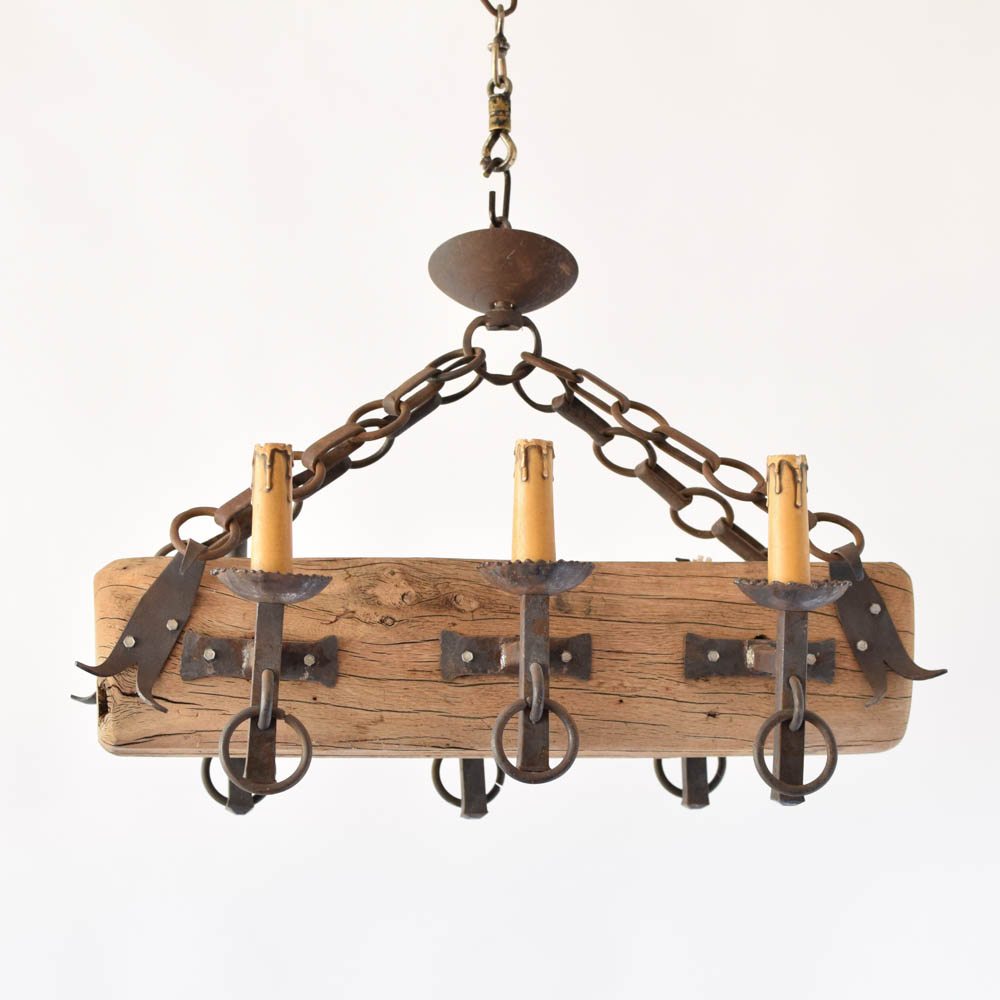
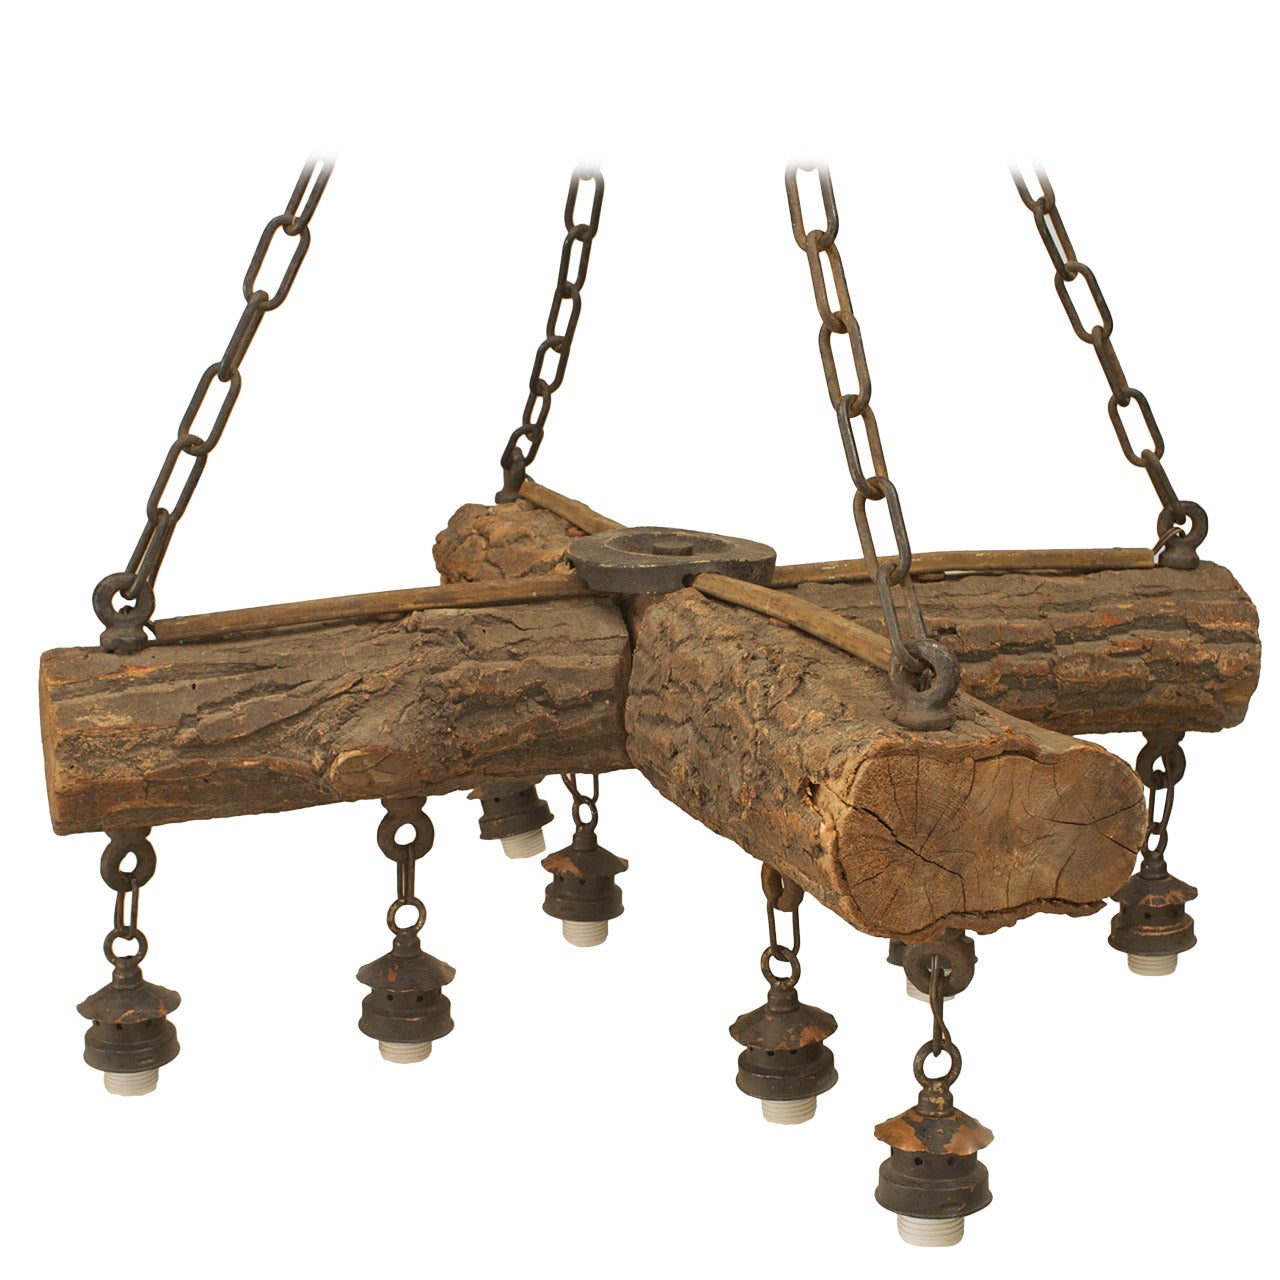
Level 1: Driftwood Chandelier
- Materials Needed: Find a sturdy piece of driftwood, pendant light cords, light bulbs, and fishing line or strong wire. Driftwood can be collected from beaches or purchased online or from specialty stores.
- Step-by-Step Guide: Attach the pendant light cords to the driftwood, ensuring they are evenly spaced. Secure the cords with fishing line or strong wire, then wire and hang the chandelier from the ceiling. The natural and rustic beauty of the driftwood will bring an organic charm to your space.
Level 2: Capiz Shell Chandelier
- Materials Needed: Search for capiz shells, a metal or wire frame, a pendant light kit, and light bulbs. Capiz shells can be found online or in stores that specialize in seashell decor.
- Step-by-Step Guide: Attach the pendant light kit to the metal or wire frame. Gently attach the capiz shells to the frame using fishing line or thin wire, creating a cascading effect. Finally, connect the wires and hang the chandelier from the ceiling. The translucent capiz shells will create a mesmerizing play of light and shadow.
Part 3: Upcycled and Recycled Chandeliers
Level 1: Wine Bottle Chandelier
- Materials Needed: Collect empty wine bottles of different shapes and colors, a metal or wire frame, a pendant light kit, and light bulbs. You can repurpose wine bottles from your own collection or ask local restaurants or bars for their discarded bottles.
- Step-by-Step Guide: Attach the pendant light kit to the metal or wire frame, then place the wine bottles upside down over the cords, securing them with clamps or metal rings. Wire and hang the chandelier from the ceiling, ensuring the bottles are tightly secured. The wine bottles will create a unique and eco-friendly lighting display.
Level 2: Paper Lantern Chandelier
- Materials Needed: Gather an assortment of paper lanterns, a metal or wire frame, a pendant light kit, and light bulbs. Paper lanterns can be purchased online or from party supply stores at an affordable price.
- Step-by-Step Guide: Attach the pendant light kit to the metal or wire frame, then hang the paper lanterns from the frame using fishing line or thin wire. Connect the wires and hang the chandelier from the ceiling, adjusting the lanterns to create a visually appealing arrangement. The soft glow of the paper lanterns will add a whimsical and cozy ambiance to any room.
Conclusion:
Crafting your own arts and crafts chandelier is an excellent way to add a unique and budget-friendly touch to your home decor. Whether you repurpose everyday items, draw inspiration from nature, there are endless possibilities for creating a chandelier that reflects your personal style. Following the step-by-step guides and using your creativity. You can craft a stunning centerpiece that illuminates your space with beauty and charm. Embrace the satisfaction of DIY craftsmanship and enjoy the warm and inviting glow of your own handmade arts and crafts chandelier.
Creating your own arts and crafts chandelier not only allows you to infuse your personal style into your home decor but also offers a budget-friendly alternative to store-bought options. Repurposing everyday items, drawing inspiration from nature. Upcycling and recycling materials, you can create a unique and eye-catching chandelier that becomes a focal point in any room. The step-by-step guides provided in each section offer a starting point for your creative journey, but feel free to experiment and add your own personal touches.
Enjoy the Satisfaction of Creating
Whether you choose to repurpose mason jars, vintage teacups, or you opt for nature-inspired elements like capiz shells or wine bottles, the possibilities are endless. Embrace the satisfaction of creating a one-of-a-kind chandelier that reflects your style and personality. Not only will it become a conversation piece in your home, but it will also serve as a reminder of your creativity and resourcefulness. So, grab your tools, gather your materials. And embark on the journey of crafting a unique and budget-friendly arts and crafts chandelier that will illuminate your space with charm and elegance.
Enjoy the satisfaction of creating something beautiful and functional with your own hands. Also minimizing waste and being mindful of the environment. Whether you choose to repurpose mason jars, vintage teacups, or driftwood, or you opt for nature-inspired elements like capiz shells or wine bottles, the possibilities are endless and limited only by your imagination. So, let your creativity soar, gather your materials. And embark on the rewarding experience of crafting your very own arts and crafts chandelier. With a little time, effort, and ingenuity, you can create a unique masterpiece that illuminates your home with style and individuality. Embrace the joy of DIY and enjoy the warm and inviting glow of your handmade chandelier.