DIY Illumination: Creating Arts and Crafts Lamps for Your Home

Arts and Crafts Lamps

Adding handmade arts and crafts lamps to your home not only provides functional lighting but also adds a touch of creativity and personalization to your living space. DIY illumination projects allow you to tap into your artistic side and create unique lamps that reflect your style and taste. In this article, we’ll explore three parts, each containing two levels of content, to delve into the world of DIY arts and crafts lamps. From choosing the right materials to step-by-step lamp-making techniques, these projects will inspire you to create stunning and customized lighting fixtures for your home.

Part 1: Choosing the Right Materials

Level 1: Lamp Bases and Structures

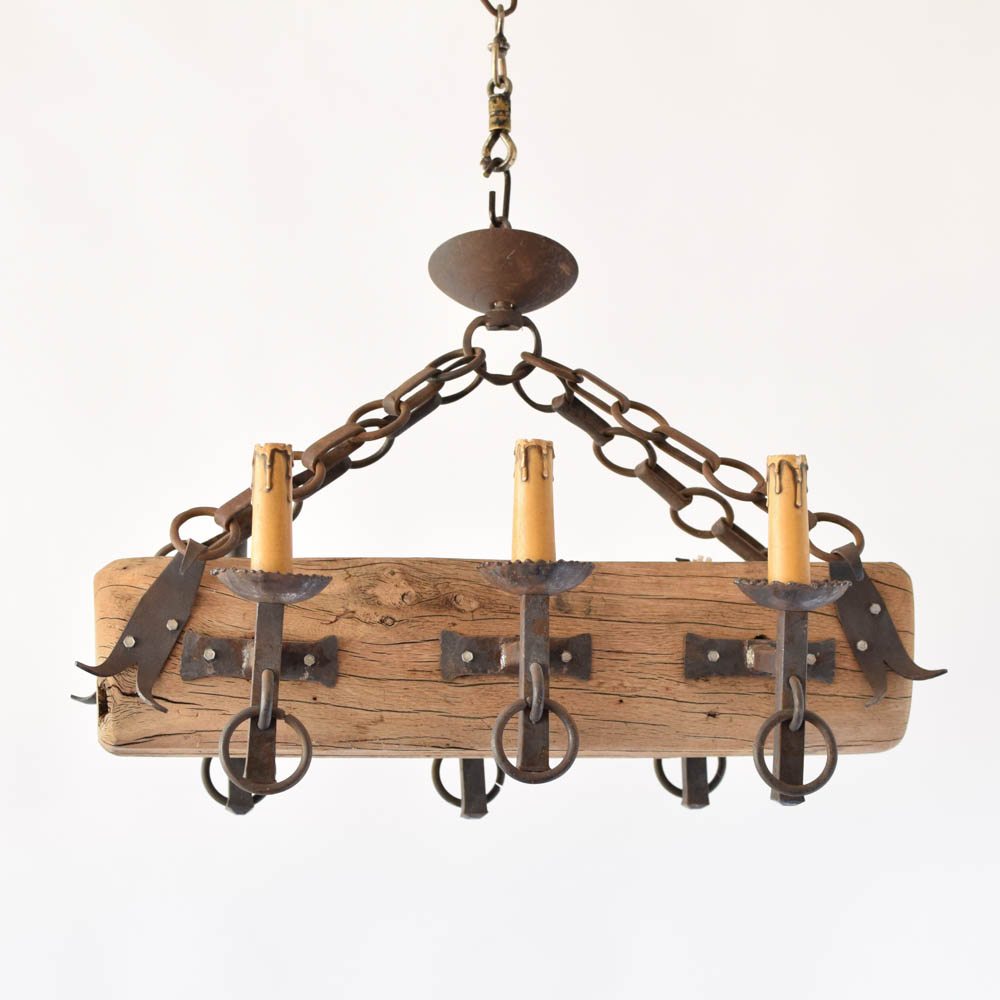
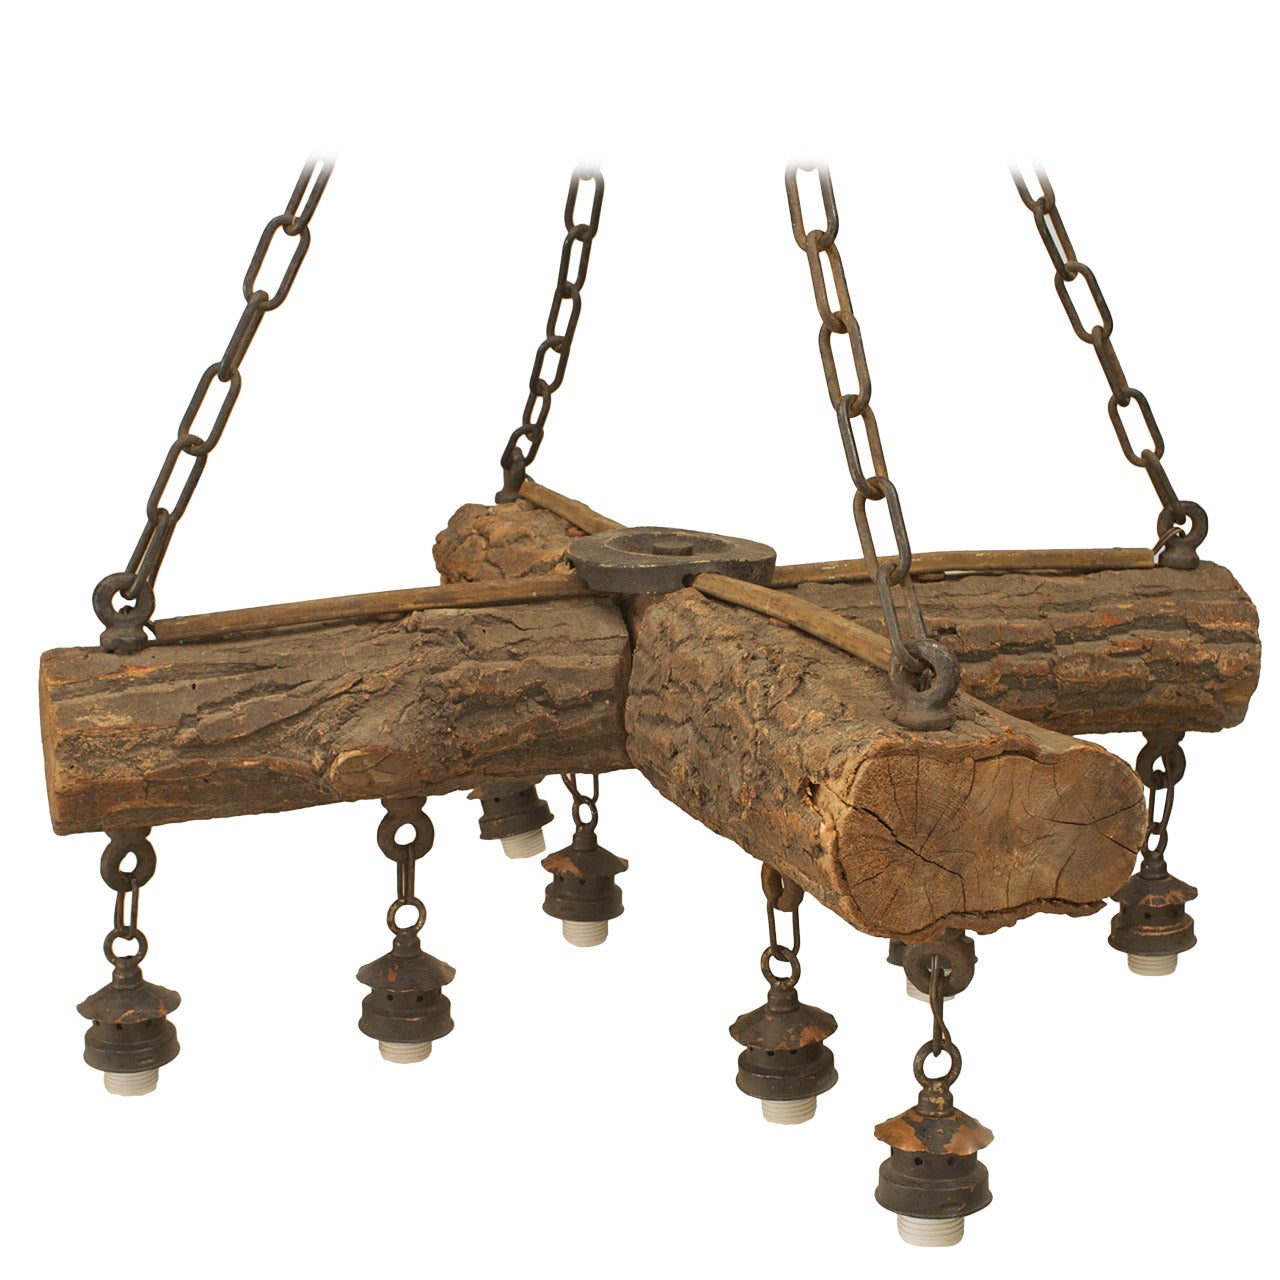
  1. Repurposed Objects: Look around your home for objects that can serve as lamp bases or structures, such as wine bottles, vintage teapots, or driftwood. These repurposed items add character and uniqueness to your DIY lamps.
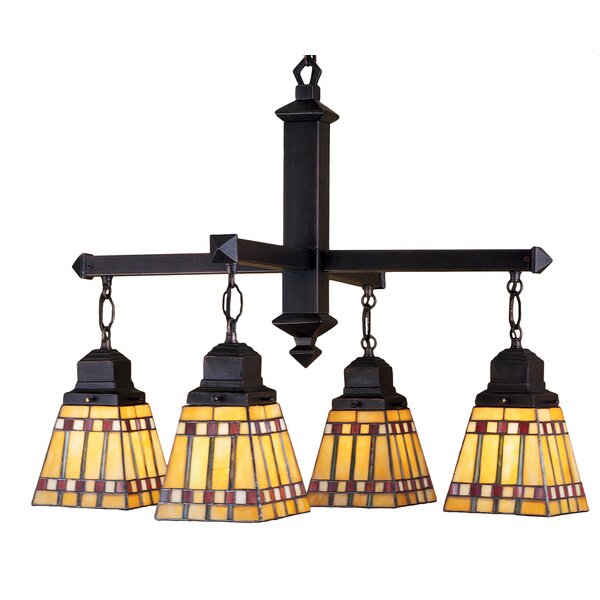
  2. Wooden Bases: If you prefer a more traditional approach, wooden bases can be easily crafted or purchased from craft stores. They provide a solid foundation for your lamp project and can be customized to match your desired style.

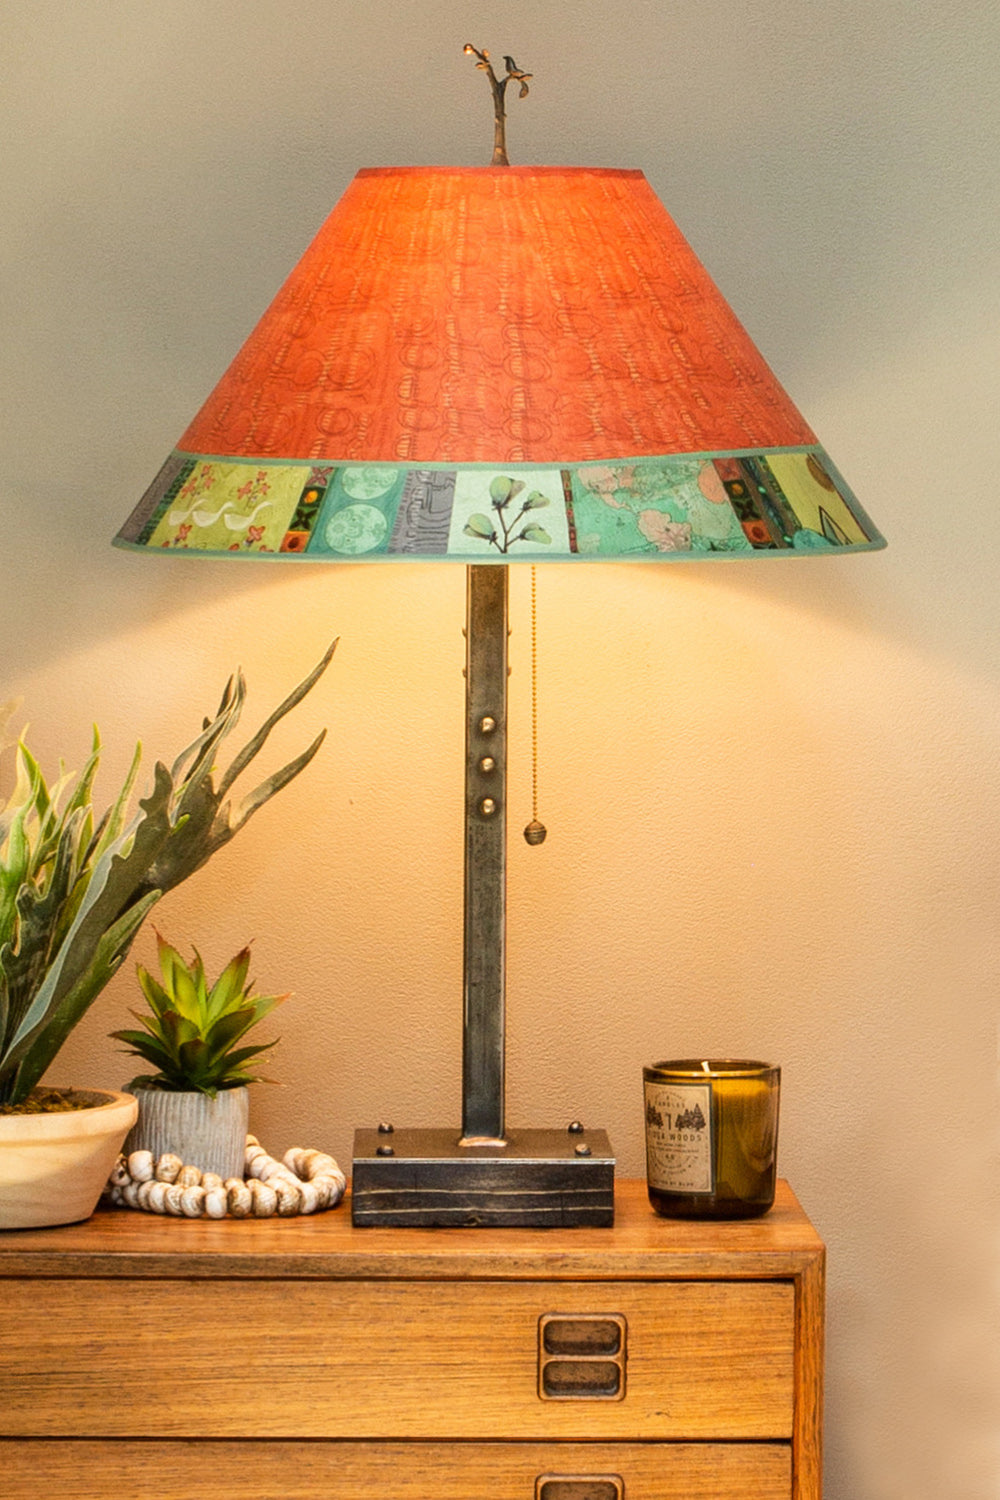
Level 2: Lampshades and Diffusers

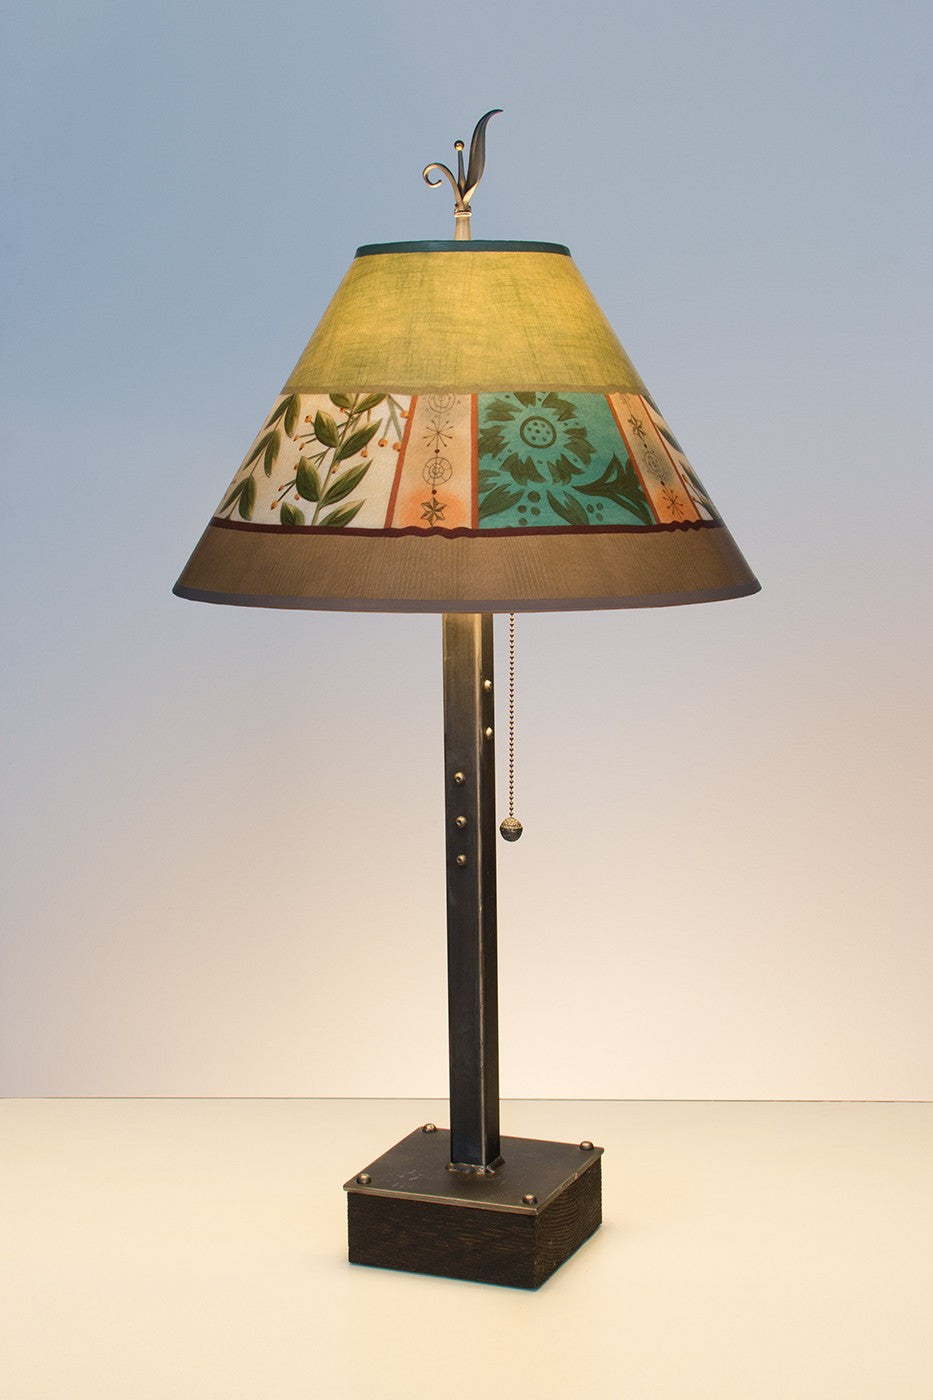
  1. Fabric Lampshades: Choose fabrics that match your decor, such as patterned cotton, linen, or silk. Experiment with different textures and colors to create a lampshade that adds visual interest and diffuses the light beautifully.
  2. DIY Diffusers: Create your own diffusers using materials like parchment paper, vellum, or frosted acrylic sheets. These materials can be cut to fit the lampshade shape, allowing for soft and even distribution of light.

Part 2: Lamp-Making Techniques

Level 1: Wiring and Electrical Components

  1. Lamp Kits: Lamp kits provide everything you need to wire your DIY lamp safely. They typically include sockets, cords, plugs, and other necessary electrical components. Follow the instructions provided with the kit to ensure proper installation.
  2. Cordless Options: Battery-operated LED lights or fairy lights offer cordless options for creating ambient and decorative lighting.

Level 2: Lampshade Design and Decoration

  1. Stenciling and Painting: Personalize your lampshade by stenciling or freehand painting designs onto fabric or paper lampshades. Consider using acrylic or fabric paints, or even metallic markers, to add patterns, images, or text.
  2. Decoupage Techniques: Apply decoupage techniques to your lampshade using printed images, decorative paper, or even fabric. Coat the lampshade with decoupage glue or Mod Podge to secure the materials and create a smooth finish.

Part 3: Creative Lamp Designs

Level 1: Paper and Origami Lamps

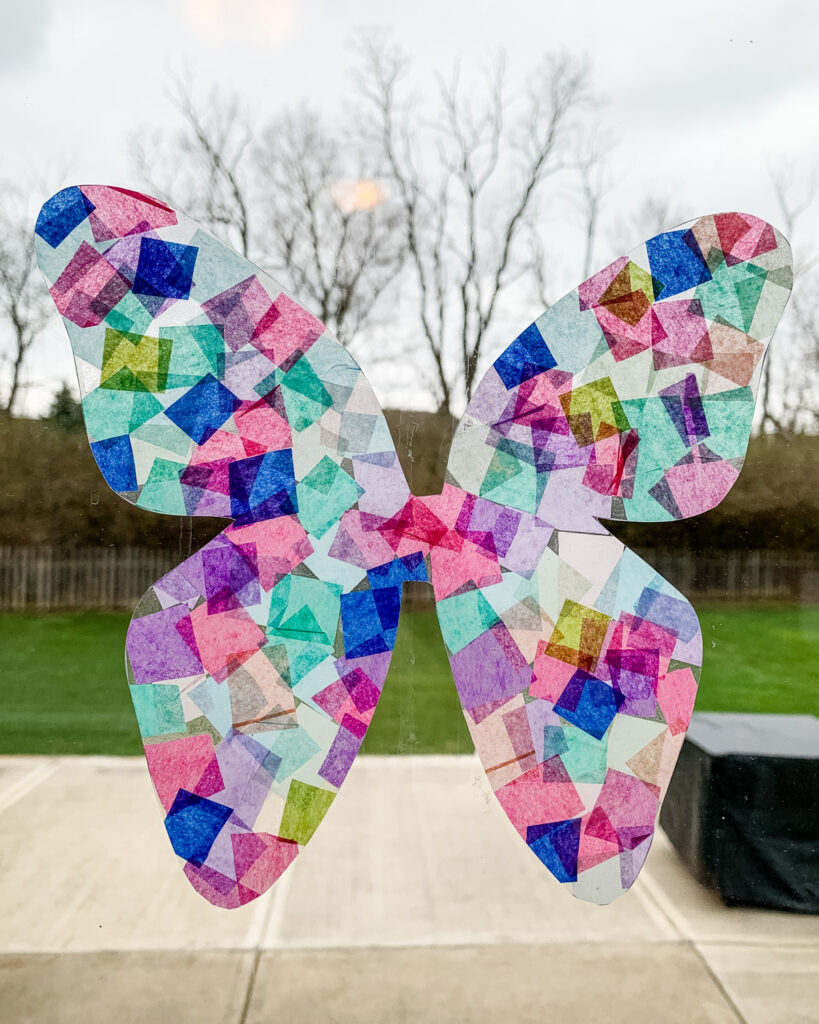
  1. Origami Pendant Lamps: Create beautiful pendant lamps by folding origami shapes, such as cranes or flowers, using origami paper. These delicate pieces can be attached to a simple cord and suspended from the ceiling.
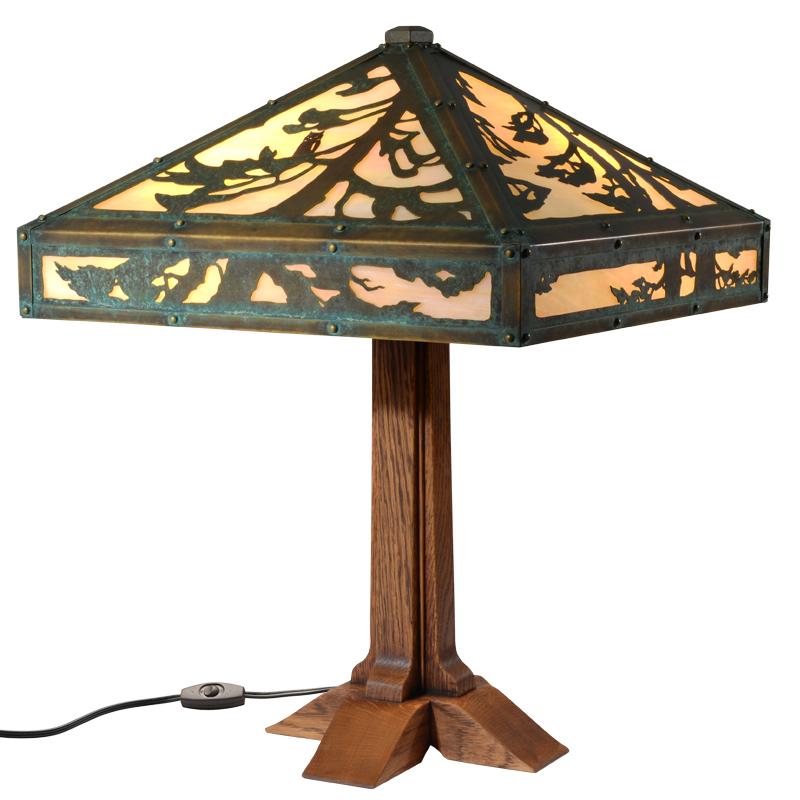
  2. Paper Cut-Out Lamps: Use paper cutting techniques to create intricate designs on lampshades. Design templates or create your own patterns, and carefully cut out the shapes to allow light to shine through, creating stunning silhouettes.

Level 2: Sculptural and Mixed Media Lamps

  1. Sculptural Wire Lamps: Bend and shape wire to create sculptural lamp bases or structures. Incorporate beads, crystals, or other decorative elements to add visual interest and sparkle to your unique lamp creation.
  2. Mixed Media Creations: Combine various materials like wood, metal, fabric, and found objects to create mixed media lamps. Let your imagination run wild as you experiment with different textures and materials to construct a lamp that is truly one of a kind.

Conclusion:

DIY arts and crafts lamps offer a wonderful opportunity to illuminate your home with personalized and handmade lighting fixtures. By choosing the right materials, such as repurposed objects or wooden bases, and incorporating techniques like stenciling, paper folding, or mixed media construction, you can create lamps that reflect your unique style and taste. Ensure proper wiring and electrical components for safety, and let your creativity soar as you design and decorate lampshades with painting, decoupage, or paper cut-out techniques. Embrace the joy of creating your own illuminating works of art and bring a warm and artistic ambiance to your home with DIY arts and crafts lamps.

Stylish and Functional Arts and Crafts Lamps

Arts and Crafts Lamps

Good lighting is essential when engaging in arts and crafts activities, as it enhances visibility and ensures precision in your work. Investing in a stylish and functional arts and crafts lamp can greatly improve your crafting experience. These lamps are specifically designed to provide focused and adjustable lighting, allowing you to work with greater accuracy and ease. In this article, we will explore three key parts, each containing two levels of content, to delve into the importance of proper lighting for arts and crafts, the features to consider when choosing a lamp, and the stylish options available on the market.

Part 1: The Importance of Proper Lighting for Arts and Crafts

Level 1: Enhanced Visibility and Accuracy

  1. Illuminating Details: Adequate lighting is crucial for seeing intricate details, especially when working with small or delicate materials. A well-lit workspace ensures that you can accurately assess colors, textures, and fine lines in your creations.
  2. Reduced Eye Strain: Insufficient lighting can lead to eye strain, which is not only uncomfortable but can also affect the quality of your work. Proper lighting reduces eye fatigue, allowing for longer and more enjoyable crafting sessions.

Level 2: Color Accuracy and Consistency

  1. True Color Representation: Good lighting ensures accurate color perception, enabling you to choose and blend colors with confidence. It helps you avoid color distortion caused by dim or uneven lighting, ensuring that the colors in your projects are true to life.
  2. Uniform Lighting: Even illumination across your work surface reduces shadows and glare. This consistency in lighting prevents uneven color application and provides a clear view of the entire project, resulting in more precise and professional-looking results.

Part 2: Features to Consider When Choosing an Arts and Crafts Lamp

Level 1: Adjustable Lighting Options

  1. Dimmable Settings: Look for lamps with adjustable brightness settings to create the ideal lighting conditions for different projects. Dimming options allow you to customize the intensity of the light, catering to your specific needs and preferences.
  2. Adjustable Angles and Positions: Opt for lamps that offer adjustable arms or goosenecks, allowing you to direct the light exactly where you need it. The ability to position the lamp at various angles ensures optimal lighting for different tasks and working positions.

Level 2: Comfort and Convenience

  1. Eye-Friendly Lighting: Consider lamps with features such as LED lights that emit flicker-free and low-heat illumination. These lights are gentle on the eyes, reducing strain and promoting comfortable crafting sessions.
  2. Additional Functions: Look for lamps with built-in magnifying glasses or adjustable color temperatures. These additional features can enhance your crafting experience and provide added versatility for specific projects or tasks.

Part 3: Stylish Options for Arts and Crafts Lamps

Level 1: Sleek and Modern Designs

  1. Minimalist Aesthetics: Choose lamps with clean lines and minimalist designs that seamlessly blend into your workspace. These lamps provide a modern and sophisticated touch, adding to the overall aesthetic appeal of your crafting area.
  2. Compact and Portable: Consider compact and portable lamps that can be easily moved around your workspace. These versatile options are convenient for working on different projects or for taking your crafting on the go.

Level 2: Creative and Artistic Designs

  1. Art-Inspired Lamps: Explore lamps with creative and artistic designs that serve as functional lighting fixtures and decorative elements. These lamps can add a unique and aesthetic touch to your crafting space, reflecting your personal style and creativity.
  2. Vintage and Retro Lamps: Vintage-inspired or retro-style lamps can infuse your crafting area with a nostalgic and charming ambiance. These lamps bring a touch of character and whimsy, creating an inspiring and inviting environment.

Conclusion:

Proper lighting is an essential aspect of successful arts and crafts projects. Investing in a stylish and functional arts and crafts lamp enhances visibility, accuracy, and color representation, providing an optimal crafting experience. Consider adjustable lighting options and features that prioritize comfort and convenience. Opt for lamps that blend seamlessly into your workspace, whether through sleek and modern designs or creative and artistic aesthetics. Choose a lamp that not only illuminates your crafting area but also reflects your personal style and enhances the overall ambiance of your creative space. Craft in the perfect light and unleash your creativity with the assistance of a stylish and functional arts and crafts lamp.

Arts and Crafts Lamps for Inspired Crafting

Arts and Crafts Lamps


A well-lit workspace is crucial for any arts and crafts enthusiast. Proper lighting not only enhances visibility but also sets the mood and ambiance for creative endeavors. Arts and crafts lamps play a vital role in illuminating your workspace, ensuring optimal lighting conditions for inspired crafting. In this article, we’ll explore three parts, each containing two levels of content, to delve into the world of arts and crafts lamps. From different types of lamps to consider for specific crafting needs to the benefits of adjustable lighting and stylish designs, these lamps will illuminate your creativity and enhance your crafting experience.

Part 1: Choosing the Right Arts and Crafts Lamps

Level 1: Task Lighting

  1. Desk Lamps: Desk lamps are a popular choice for task lighting, offering focused illumination for specific crafting activities. Opt for lamps with adjustable arms or gooseneck designs, allowing you to position the light exactly where you need it.
  2. Magnifying Lamps: For detailed work or hobbies that require precision, consider magnifying lamps. These lamps combine lighting with magnification capabilities, making it easier to see fine details and work with intricate designs.

Level 2: Natural Light Alternatives

  1. Full-Spectrum Lamps: Full-spectrum lamps simulate natural daylight, providing a balanced spectrum of light that closely resembles sunlight. These lamps are ideal for color accuracy, reducing eye strain, and creating a vibrant and inviting crafting environment.
  2. LED Lamps: LED lamps are energy-efficient, versatile, and offer a wide range of color temperatures. They provide bright and focused lighting, making them suitable for a variety of crafts. LED lamps also last longer, reducing the need for frequent bulb replacements.

Part 2: Benefits of Adjustable Lighting

Level 1: Enhanced Visibility and Precision

  1. Reduced Eye Strain: Adjustable lighting allows you to customize the intensity of light, reducing eye strain and fatigue during extended crafting sessions.
  2. Improved Detail Work: By adjusting the light position and intensity, you can effectively highlight specific areas of your project, enhancing visibility and improving precision during intricate tasks.

Level 2: Versatility and Adaptability

  1. Multi-Directional Lighting: Lamps with adjustable arms, rotating heads, or multiple light settings offer versatility to adapt to different crafting techniques and projects.
  2. Accommodating Different Workspaces: Adjustable lighting allows you to cater to various workspace configurations, whether you have a dedicated crafting room or work in a smaller area. You can position the lamp to provide optimal illumination based on your specific workspace layout.

Part 3: Stylish Designs for Inspired Spaces

Level 1: Modern and Sleek Designs

  1. Minimalist Desk Lamps: Opt for sleek and minimalist desk lamps that blend seamlessly with contemporary decor. These lamps offer clean lines, modern finishes, and functionality without compromising style.
  2. Architect Lamps: Inspired by industrial design, architect lamps feature adjustable arms, a sturdy base, and a bold aesthetic. These lamps not only provide practical lighting but also add an architectural element to your crafting space.

Level 2: Vintage and Artistic Touches

  1. Tiffany Lamps: For a touch of vintage charm, consider Tiffany lamps. These stained glass lamps offer a unique and artistic focal point, casting a warm and colorful glow that adds ambiance to your crafting area.
  2. Artistic Sculptural Lamps: Showcase your creativity with sculptural lamps that double as artistic pieces. These lamps feature unique shapes, intricate patterns, or sculptural elements that make them both functional and decorative.

Conclusion:

Investing in the right arts and crafts lamps can significantly enhance your crafting experience. Task lighting, such as desk lamps and magnifying lamps, provides focused illumination for specific activities. Natural light alternatives, like full-spectrum lamps or LED lamps, mimic daylight and offer versatility and energy efficiency. Adjustable lighting not only improves visibility and precision but also accommodates different workspaces and projects. And, with stylish designs ranging from modern and sleek to vintage and artistic, you can find a lamp that complements your personal style and adds a touch of inspiration to your crafting space. So, illuminate your creativity with perfect arts and crafts lamps, and let the right lighting enhance your crafting experience, resulting in beautiful and inspired works of art.

Get Crafty: Inspiring Designs for Arts and Crafts Chandeliers

Arts and Crafts Chandeliers

Part 1: Introduction to Arts and Crafts Chandeliers

Level 1: Unleashing creativity with arts and crafts chandeliers Chandeliers are not only sources of light but can also serve as stunning focal points in any room. If you’re looking to add a touch of uniqueness and personalization to your home decor, arts and crafts chandeliers are an excellent choice. These chandeliers combine the beauty of traditional craftsmanship with creative and artistic designs. In this article, we will explore inspiring designs and ideas for arts and crafts chandeliers that will elevate the ambiance of any space.

Level 2: Understanding the arts and crafts style The arts and crafts movement emerged in the late 19th century as a reaction against mass-produced, impersonal goods. It celebrated the beauty of handcrafted items, emphasizing simplicity, quality materials, and attention to detail. Arts and crafts chandeliers often feature organic shapes, nature-inspired motifs, and intricate craftsmanship. They are known for their warm and inviting aesthetic, making them a perfect addition to both traditional and contemporary interiors.

Part 2: Inspiring Designs for Arts and Crafts Chandeliers

Level 1: Stained glass masterpieces Stained glass is a hallmark of arts and crafts design, and incorporating it into chandeliers can create truly mesmerizing pieces. A stained glass chandelier can feature colorful, intricate patterns or depict nature scenes, such as flowers, trees, or birds. The light passing through the stained glass creates a stunning display of colors and adds a warm, inviting glow to the room. Whether it’s a small pendant chandelier or a grand statement piece, stained glass designs are sure to captivate.

Level 2: Handcrafted metalwork Another characteristic of arts and crafts chandeliers is the use of handcrafted metalwork. Copper, bronze, or wrought iron are often used to create beautiful and intricate designs. Hand-hammering techniques can add texture and depth to the metal, while filigree or cutout patterns bring an elegant and artistic touch. These metalwork chandeliers can range from simple and rustic to elaborate and ornate, allowing you to find a design that suits your personal style and complements your space.

Part 3: Tips and Tricks for Incorporating Arts and Crafts Chandeliers

Level 1: Choosing the right size and placement When selecting an arts and crafts chandelier, consider the size and scale of the room. A larger chandelier with multiple tiers and arms may be suitable for a spacious dining room or foyer, while a smaller one might be more appropriate for a cozy reading nook or bedroom. Pay attention to the ceiling height as well, ensuring that the chandelier hangs at the right distance for visual appeal and functionality. Additionally, consider the overall design and style of the room to ensure that the chandelier blends seamlessly with the existing decor.

Level 2: Mixing and matching with other elements While arts and crafts chandeliers make a statement on their own, they can also be complemented by other design elements. Consider incorporating natural materials like wood or stone to enhance the organic nature of the chandelier. Pair it with furniture and accessories that feature clean lines, earthy tones, and natural textures to create a cohesive and harmonious look. By combining different elements thoughtfully, you can create a visually stunning and inviting space that showcases the beauty of arts and crafts design.

Level 3: DIY arts and crafts chandelier projects If you’re feeling especially creative, you can even embark on a DIY arts and crafts chandelier project. Explore your artistic skills by designing and crafting your own stained glass panels or metalwork elements. There are numerous tutorials and resources available online to guide you through the process. Not only will you have a one-of-a-kind chandelier, but you’ll also have the satisfaction of knowing that you created it with your own hands.

Conclusion

Arts and crafts chandeliers offer a unique blend of beauty, craftsmanship, and personalization. Whether you choose a stunning stained glass masterpiece or a handcrafted metalwork design, these chandeliers bring a touch of elegance and creativity to any space. By considering size, placement, and complementary design elements, you can incorporate an arts and crafts chandelier seamlessly into your home decor. And if you’re feeling adventurous, don’t hesitate to unleash your creativity and embark on a DIY arts and crafts chandelier project. Get ready to add a captivating and personalized touch to your living spaces.

Upcycled Materials for Arts and Crafts Chandeliers

Arts and Crafts Chandeliers

Creating unique and eco-friendly arts and crafts chandeliers is a wonderful way to add a touch of creativity and sustainability to your home decor. Upcycling materials not only reduces waste but also allows you to transform discarded items into beautiful pieces of art. We will explore the world of upcycled materials for arts and crafts chandeliers. Divided into three parts, we will delve into understanding the concept of upcycling, explore various materials that can be used for chandelier making, and provide inspiring ideas for upcycled chandeliers.

Part 1: Understanding the Concept of Upcycling

Level 1: What is Upcycling? Upcycling is the process of transforming waste materials or unwanted items into useful or aesthetically pleasing products of higher value. Unlike recycling, which breaks down materials to create new ones, upcycling involves repurposing and creatively reusing materials to give them a new lease of life. Upcycling promotes sustainability, reduces waste, and allows for artistic and innovative expression.

Level 2: Benefits of Upcycled Chandeliers Creating chandeliers from upcycled materials offers several benefits. Firstly, it allows you to showcase your creativity and individual style by crafting unique pieces that reflect your personality. Secondly, upcycled chandeliers are more environmentally friendly as they reduce the demand for new materials and minimize waste. Lastly, upcycled chandeliers can be cost-effective, as many materials can be sourced for free or at a lower cost compared to purchasing new components.

Part 2: Materials for Upcycled Chandeliers

Level 1: Glass Bottles and Jars Empty glass bottles and jars can be repurposed into stunning chandelier components. By removing labels and adding decorative elements such as paint, beads, or ribbons, you can transform these everyday items into beautiful hanging pendants or candle holders. Arrange them in various heights and sizes to create a visually striking chandelier centerpiece.

Level 2: Vintage Silverware Vintage silverware, such as forks, spoons, and knives, can be repurposed to create a unique chandelier. Bend and shape the utensils into interesting patterns or clusters, then attach them to a metal frame or wire structure. The reflective nature of the silverware creates an eye-catching effect as it catches the light, making for a one-of-a-kind chandelier.

Part 3: Inspiring Ideas for Upcycled Chandeliers

Level 1: Paper Lantern Chandelier Using discarded paper lanterns or even old lampshades, you can create a stunning chandelier by covering them with colorful paper cutouts or decoupage. Attach multiple lanterns of various sizes to a central frame, then hang it from the ceiling. The diffused light shining through the cutouts creates an enchanting ambiance.

Level 2: Bicycle Wheel Chandelier Repurpose an old bicycle wheel into a unique chandelier by attaching small glass bottles or mason jars to the spokes. Fill the bottles or jars with string lights or candles for a whimsical lighting effect. Hang the chandelier above a dining table or in an outdoor space for a charming and rustic touch.

Conclusion:

Creating upcycled chandeliers allows you to transform discarded materials into stunning pieces of functional art while promoting sustainability and reducing waste. Understanding the concept of upcycling, exploring materials such as glass bottles, vintage silverware. And embracing inspiring ideas like paper lanterns or bicycle wheels. You can unleash your creativity and design unique chandeliers for your home. Upcycled chandeliers not only contribute to a greener lifestyle but also bring a sense of pride and satisfaction as you turn trash into treasure. So, let your imagination soar and explore the endless possibilities of upcycled materials for your arts and crafts chandeliers.

Creative Ways to Incorporate an Arts and Crafts Chandelier

Arts and Crafts Chandelier

Introduction:

Incorporating an arts and crafts chandelier into your space can transform your room into a captivating and artistic oasis. With its unique and intricate design, an arts and crafts chandelier adds a touch of elegance and creativity to any space. We will explore creative ways to incorporate an arts and crafts chandelier into your home. Divided into three parts, each containing two levels of content, we will delve into unique placement ideas and how to complement the chandelier with other decor elements to create a mesmerizing ambiance.

Part 1: Focal Points of Elegance

Level 1: Grand Entryway Statement Make a lasting first impression by placing an arts and crafts chandelier in your entryway. Hang it in the center of the space to create an instant focal point that welcomes guests with a touch of elegance. The chandelier’s intricate design and warm ambient lighting will set the mood for the entire home. Complement the chandelier with a stylish console table, an oversized mirror, and a vibrant floral arrangement to create a grand and inviting entryway that reflects your artistic taste.

Level 2: Dazzling Dining Experience Elevate your dining area with the addition of an arts and crafts chandelier. Hang it above the dining table to create a captivating centerpiece that enhances the overall aesthetic. The chandelier’s warm and diffused light will create an intimate ambiance for gatherings and elevate the dining experience. Pair the chandelier with a rustic farmhouse table, comfortable chairs, and soft linens to create a harmonious blend of old-world charm and modern comfort. The arts and crafts chandelier will serve as a conversation starter and a stunning focal point for memorable meals.

Part 2: Creative Combinations

Level 1: Bohemian Retreat Infuse your bedroom or living space with a bohemian vibe by combining an arts and crafts chandelier with eclectic furnishings. Hang the chandelier above a cozy reading nook or seating area to create a dreamy and enchanting atmosphere. Pair it with vibrant patterned rugs, floor cushions, and ornate tapestries to embrace the bohemian aesthetic. The chandelier’s warm glow will add depth and ambiance to the space, creating a cozy and relaxing retreat.

Level 2: Artistic Enclave Create an artistic enclave by combining an arts and crafts chandelier with an art gallery wall. Hang the chandelier above a space dedicated to displaying artwork, such as a hallway or a dedicated art room. The chandelier’s intricate design will complement the artistic elements, creating a cohesive and visually captivating display. Use track lighting or directional spotlights to highlight specific pieces and create a dynamic and gallery-like ambiance. The combination of the chandelier’s elegance and the curated artwork will inspire creativity and provide a captivating environment for artistic appreciation.

Part 3: Unexpected Placements

Level 1: Outdoor Oasis Take your outdoor living space to the next level by incorporating an arts and crafts chandelier in unexpected areas. Hang it on a covered porch or pergola to create a cozy and enchanting outdoor oasis. The chandelier’s warm glow will add a touch of elegance, while its intricate design will create an interesting focal point. Pair it with comfortable outdoor seating, vibrant cushions, and lush greenery to create a serene and welcoming space. The arts and crafts chandelier will transform your outdoor area into a relaxing retreat for evening gatherings or quiet moments alone.

Level 2: Whimsical Bathroom Delight Infuse your bathroom with a touch of whimsy by incorporating an arts and crafts chandelier. The chandelier’s soft lighting and intricate design will add an element of luxury and charm to your bathing experience. Pair it with luxurious towels, a vintage vanity, and botanical accents to complete the whimsical ambiance. The arts and crafts chandelier will transform your bathroom into a tranquil and enchanting sanctuary.

Conclusion:

Incorporating an arts and crafts chandelier into your space is a creative way to add elegance and artistic flair. Whether placed in a grand entryway, above a dining table, in a bohemian retreat, or even in unexpected areas like outdoor spaces or bathrooms, the chandelier becomes a captivating focal point that enhances the overall ambiance. Pair it with complementary decor elements and furnishings to create a harmonious and visually striking environment. Let the arts and crafts chandelier transform your space into a mesmerizing haven. It reflects your unique style and artistic sensibilities.

Unique and Budget-Friendly: Arts and Crafts Chandelier Ideas

Arts and Crafts Chandelier

Chandeliers are elegant and eye-catching lighting fixtures that can transform the ambiance of any space. However, they often come with a hefty price tag. With a little creativity and DIY spirit, you can create your own arts and crafts chandelier that not only adds a unique touch to your home decor but also fits within your budget. We will explore three key parts, each containing two levels of content, to provide you with inspiration and ideas for crafting your own budget-friendly arts and crafts chandelier.

Converted Gas Up Electric Down Pan Light at 1stDibs

Part 1: Repurposing Everyday Items

Level 1: Mason Jar Chandelier

  1. Materials Needed: Gather a set of mason jars, a wooden or metal base, pendant light cords, and light bulbs. You can find these items at your local craft store or repurpose them from old household items.
  2. Step-by-Step Guide: Attach the pendant light cords to the base, then place one mason jar over each cord. Securing them with clamps or metal rings. Finally, wire and hang the chandelier from the ceiling, ensuring the cords are properly secured. Enjoy the warm and rustic glow provided by the mason jars.

Level 2: Vintage Teacup Chandelier

  1. Materials Needed: Collect an assortment of vintage teacups and saucers, a metal or wire frame, a pendant light kit, and light bulbs. Thrift stores, flea markets, and online marketplaces are great places to find affordable vintage teacups.
  2. Step-by-Step Guide: Attach the pendant light kit to the metal or wire frame, then arrange the teacups and saucers on the frame, ensuring they are securely fastened. Connect the wires and hang the chandelier from the ceiling. The delicate and charming teacups will create a unique focal point in any room.

Wood Beam And Wrought Iron Chandelier Six Light Chandelier, 57% OFF

Part 2: Nature-Inspired Chandeliers

Level 1: Driftwood Chandelier

  1. Materials Needed: Find a sturdy piece of driftwood, pendant light cords, light bulbs, and fishing line or strong wire. Driftwood can be collected from beaches or purchased online or from specialty stores.
  2. Step-by-Step Guide: Attach the pendant light cords to the driftwood, ensuring they are evenly spaced. Secure the cords with fishing line or strong wire, then wire and hang the chandelier from the ceiling. The natural and rustic beauty of the driftwood will bring an organic charm to your space.

Level 2: Capiz Shell Chandelier

  1. Materials Needed: Search for capiz shells, a metal or wire frame, a pendant light kit, and light bulbs. Capiz shells can be found online or in stores that specialize in seashell decor.
  2. Step-by-Step Guide: Attach the pendant light kit to the metal or wire frame. Gently attach the capiz shells to the frame using fishing line or thin wire, creating a cascading effect. Finally, connect the wires and hang the chandelier from the ceiling. The translucent capiz shells will create a mesmerizing play of light and shadow.Antique Rustic Chandeliers - 53 For Sale on 1stDibs | extra large rustic chandeliers, large rustic chandeliers for sale, rustic chandeliers canada

Part 3: Upcycled and Recycled Chandeliers

Level 1: Wine Bottle Chandelier

  1. Materials Needed: Collect empty wine bottles of different shapes and colors, a metal or wire frame, a pendant light kit, and light bulbs. You can repurpose wine bottles from your own collection or ask local restaurants or bars for their discarded bottles.
  2. Step-by-Step Guide: Attach the pendant light kit to the metal or wire frame, then place the wine bottles upside down over the cords, securing them with clamps or metal rings. Wire and hang the chandelier from the ceiling, ensuring the bottles are tightly secured. The wine bottles will create a unique and eco-friendly lighting display.

Level 2: Paper Lantern Chandelier

  1. Materials Needed: Gather an assortment of paper lanterns, a metal or wire frame, a pendant light kit, and light bulbs. Paper lanterns can be purchased online or from party supply stores at an affordable price.
  2. Step-by-Step Guide: Attach the pendant light kit to the metal or wire frame, then hang the paper lanterns from the frame using fishing line or thin wire. Connect the wires and hang the chandelier from the ceiling, adjusting the lanterns to create a visually appealing arrangement. The soft glow of the paper lanterns will add a whimsical and cozy ambiance to any room.

Mcateer 4 - Light Dimmable Classic / Traditional Chandelier

Conclusion:

Crafting your own arts and crafts chandelier is an excellent way to add a unique and budget-friendly touch to your home decor. Whether you repurpose everyday items, draw inspiration from nature, there are endless possibilities for creating a chandelier that reflects your personal style. Following the step-by-step guides and using your creativity. You can craft a stunning centerpiece that illuminates your space with beauty and charm. Embrace the satisfaction of DIY craftsmanship and enjoy the warm and inviting glow of your own handmade arts and crafts chandelier.

Creating your own arts and crafts chandelier not only allows you to infuse your personal style into your home decor but also offers a budget-friendly alternative to store-bought options. Repurposing everyday items, drawing inspiration from nature. Upcycling and recycling materials, you can create a unique and eye-catching chandelier that becomes a focal point in any room. The step-by-step guides provided in each section offer a starting point for your creative journey, but feel free to experiment and add your own personal touches.

Enjoy the Satisfaction of Creating

Whether you choose to repurpose mason jars, vintage teacups, or you opt for nature-inspired elements like capiz shells or wine bottles, the possibilities are endless. Embrace the satisfaction of creating a one-of-a-kind chandelier that reflects your style and personality. Not only will it become a conversation piece in your home, but it will also serve as a reminder of your creativity and resourcefulness. So, grab your tools, gather your materials. And embark on the journey of crafting a unique and budget-friendly arts and crafts chandelier that will illuminate your space with charm and elegance.

Enjoy the satisfaction of creating something beautiful and functional with your own hands. Also minimizing waste and being mindful of the environment. Whether you choose to repurpose mason jars, vintage teacups, or driftwood, or you opt for nature-inspired elements like capiz shells or wine bottles, the possibilities are endless and limited only by your imagination. So, let your creativity soar, gather your materials. And embark on the rewarding experience of crafting your very own arts and crafts chandelier. With a little time, effort, and ingenuity, you can create a unique masterpiece that illuminates your home with style and individuality. Embrace the joy of DIY and enjoy the warm and inviting glow of your handmade chandelier.

How to Make Your Own Arts and Crafts Chandelier

.Arts and Crafts Chandelier

Adding a unique and personalized touch to your home decor can be a rewarding experience, and what better way to do so than by creating your own arts and crafts chandelier? A handmade chandelier not only adds charm and elegance to any space but also allows you to showcase your creativity and craftsmanship. In this article, we’ll provide you with a step-by-step guide to help you create your very own arts and crafts chandelier. Divided into three parts, each containing two levels of content, this comprehensive guide will take you through the process, from gathering materials to assembling the final masterpiece.

Part 1: Gathering Materials and Design Inspiration

Level 1: Choosing the Right Materials

  1. Chandelier Frame: Begin by selecting a chandelier frame that complements your desired aesthetic. Options include metal frames in various shapes and sizes or repurposing an old chandelier by removing its existing decorations.
  2. Crafting Supplies: Gather crafting supplies such as wire cutters, pliers, glue/adhesive, string, and any other materials you envision incorporating into your chandelier.

Level 2: Seeking Design Inspiration

  1. Research and Mood Board: Explore various sources of design inspiration, including websites, magazines, and social media platforms, to gather ideas for your arts and crafts chandelier. Create a mood board or visual collage to help refine and solidify your vision.
  2. Personalize and Adapt: While gathering inspiration, consider adding personal touches to the design. Think about incorporating elements that reflect your style, such as favorite colors, textures, or materials.

Part 2: Crafting and Assembling Your Chandelier

Level 1: Creating Decorative Elements

  1. Beading and Charms: String beads, charms, or other small decorative elements onto thin wire or string. Create strands of varying lengths to add visual interest and dimension to your chandelier.
  2. Paper or Fabric Ornaments: Cut out or create paper or fabric ornaments in various shapes, colors, and sizes. These can include delicate flowers, butterflies, or geometric patterns that will add a whimsical touch to your chandelier.

Level 2: Assembling Your Chandelier

  1. Attaching Decorative Elements: Begin attaching the beaded strands, charms, and ornaments to the chandelier frame using small jump rings or glue. Experiment with different arrangements and spacing to achieve the desired look.
  2. Wiring and Lighting: If your chandelier frame includes sockets for light bulbs, follow the manufacturer’s instructions for wiring and installation. Alternatively, consider incorporating battery-operated fairy lights or LED candles for a safe and enchanting glow.

Part 3: Installation and Final Touches

Level 1: Hanging and Installation

  1. Ceiling Hook or Chain: Determine the ideal location for your chandelier and install a ceiling hook or chain accordingly. Ensure that the hook or chain can support the weight of your chandelier securely.
  2. Hanging Your Chandelier: Use pliers or hooks to hang the chandelier onto the ceiling hook or chain. Adjust the height and positioning as desired to achieve the desired visual impact.

Level 2: Final Touches and Inspection

  1. Balancing and Adjustments: Step back and assess the overall balance and appearance of your chandelier. Make any necessary adjustments to ensure that it hangs evenly and that the decorative elements are positioned to your liking.
  2. Safety and Maintenance: Ensure that all wires, electrical components, and hanging mechanisms are secure and in compliance with safety standards. Regularly inspect and maintain your chandelier to keep it in optimal condition.

Conclusion:

Creating your own arts and crafts chandelier allows you to infuse your home with personality, creativity, and a touch of elegance. By following this step-by-step guide, you’ll be able to gather the right materials, seek design inspiration, and craft and assemble a chandelier that reflects your unique style. Remember to personalize your chandelier with decorative elements and incorporate personal touches that make it truly yours.

As you embark on this DIY journey, enjoy the creative process and let your imagination soar. The satisfaction of crafting and installing your own arts and crafts chandelier will transform any space into a captivating and personalized oasis. Embrace the opportunity to showcase your creativity. And prepare to delight in the warm and inviting ambiance that your handmade chandelier will bring to your home.

DIY Arts and Crafts Chandelier: Create a Stunning Statement Piece

Arts and Crafts Chandelier

An arts and crafts chandelier can add a touch of elegance and creativity to any space. Crafting your own chandelier allows you to customize it to suit your style and create a unique statement piece. In this article, we will explore the world of DIY arts and crafts chandeliers, divided into three parts, each containing two levels of content. Get ready to unleash your creativity and bring a stunning handmade chandelier to life.

Part 1: Choosing the Design and Materials

Level 1: Understanding the Beauty of Arts and Crafts Chandeliers

Arts and crafts chandeliers combine intricate designs with the beauty of handcrafted elements, making them an exquisite addition to any space.

Level 2: Tips for Choosing the Design and Materials

  1. Research and Inspiration:
  • Explore various arts and crafts chandelier designs to determine the style that resonates with you.
  • Look for inspiration in magazines, online platforms, or even art galleries to gather ideas for your own unique creation.
  1. Selecting the Materials:
  • Consider the materials that align with the arts and crafts aesthetic, such as stained glass, metal, or natural elements like wood and crystals.
  • Choose materials that match the overall theme of your space or create a contrasting focal point, depending on your design preferences.

Part 2: Creating Your DIY Arts and Crafts Chandelier

Level 1: Obtaining the Necessary Tools and Skills

Crafting an arts and crafts chandelier requires specific tools and skills to ensure a successful and safe creation process.

Level 2: Steps to Create Your DIY Arts and Crafts Chandelier

  1. Design and Blueprint:
  • Begin by sketching a design or creating a blueprint that outlines the structure and dimensions of your chandelier.
  • This step helps you visualize the final product and ensures that you have a clear plan to follow during the crafting process.
  1. Assembly and Construction:
  • Gather all the necessary materials and tools as per your design and blueprint.
  • Follow the step-by-step instructions for cutting, shaping, and assembling the components of your chandelier.
  • Take your time to ensure precise measurements, secure connections, and the overall structural integrity of the chandelier.
  1. Electrical Wiring and Installation:
  • If your chandelier requires electrical components, it is essential to have a basic understanding of electrical wiring or consult a professional electrician.
  • Follow electrical safety guidelines and local regulations when wiring and installing your chandelier.

Part 3: Showcasing Your DIY Arts and Crafts Chandelier

Level 1: Placement and Lighting Considerations Choosing the right location and lighting for your DIY arts and crafts chandelier ensures it becomes a captivating centerpiece in your space.

Level 2: Tips for Showcasing Your Chandelier

  1. Locating the Ideal Spot:
  • Identify a focal point in your space, such as a dining area, foyer, or living room, where your chandelier can shine.
  • Consider the size and weight of your chandelier to ensure it is suitable for the chosen location.
  1. Lighting Options:
  • Explore different lighting options to enhance the beauty of your arts and crafts chandelier.
  • Choose warm or cool-toned light bulbs to create the desired ambiance and highlight the intricate details of your handmade creation.
  1. Decorative Accents:
  • Complement your chandelier with décor elements that enhance its beauty and make it a stunning statement piece.
  • Consider adding mirrors, artwork, or furniture pieces that harmonize with the style and color palette of your chandelier.

Conclusion:

Creating your own DIY arts and crafts chandelier allows you to infuse your space with elegance and creativity. By choosing the right design and materials, following the necessary steps, and carefully showcasing your chandelier, you can create a striking statement piece that reflects your unique style and craftsmanship. Let your creativity shine as you embark on this exciting project, and watch as your handmade arts and crafts chandelier becomes the centerpiece that captures attention and admiration in your space.

Butterfly Arts and Crafts: Paper Crafts & Mixed Media Masterpieces

Butterfly Arts and Crafts

Introduction:

Butterflies have long captivated our hearts with their vibrant colors and graceful flight. Their delicate beauty serves as an endless source of inspiration for crafting enthusiasts. Whether you’re a beginner or an experienced crafter, butterfly arts and crafts offer a wealth of possibilities. From simple paper crafts to intricate mixed media masterpieces, there are countless ways to bring the enchanting world of butterflies to life. In this article, we’ll explore three parts, each containing two levels of content, to inspire you with a variety of butterfly-themed crafting ideas that will ignite your creativity and allow you to spread your wings in the crafting world.

15 Butterfly Crafts for Kids

Part 1: Papercrafts

Level 1: Origami Butterflies

  1. Origami Butterflies: Origami, the art of paper folding, offers an exciting avenue to create intricate butterfly designs. Using origami paper or any colorful paper of your choice, follow step-by-step instructions to fold elegant butterfly shapes. These origami butterflies can be used to decorate cards, create stunning wall art, or even as part of mobiles.

Level 2: Quilling Butterflies

  1. Quilled Butterfly Cards: Quilling involves rolling and shaping paper strips into various designs. Use quilling techniques to create intricate butterfly shapes. Glue the quilled butterflies onto cards to create unique and personalized greeting cards for special occasions or to gift to loved ones.

Easy Flapping Paper Butterfly Preschool Craft | Pink Stripey Socks

Part 2: Mixed Media Crafts

Level 1: Butterfly Collage

  1. Mixed Media Butterfly Collage: Create a visually stunning butterfly collage using a combination of paints, papers, fabrics, and other materials. Begin by sketching or printing butterfly outlines onto a canvas or sturdy paper. Then, use a variety of materials like tissue paper, newspaper clippings, fabric scraps, and acrylic paints to fill in the butterfly shapes with textures and colors. This technique allows you to explore different mediums and create a unique masterpiece.

Level 2: Altered Art Butterfly Shadow Box

  1. Altered Art Butterfly Shadow Box: Transform a shadow box into a whimsical piece of art using butterfly-themed elements. Attach butterfly paper cutouts, vintage postcards, or printed butterfly images onto the background of the shadow box. Embellish the design by adding small trinkets, beads, or dried flowers. The result is a captivating mixed media piece that adds a touch of nature’s beauty to your home decor.

Easy Paper Butterfly | How to Make Colored Paper Butterfly Easily | #22 - YouTube

Part 3: Wearable Crafts

Level 1: Butterfly Wing Accessories

  1. Butterfly Wing Hairpins: Craft beautiful hairpins by attaching decorative butterfly wings made from colored paper or fabric to hairpins using glue or stitching. These unique accessories can add a touch of whimsy to any hairstyle and are perfect for special occasions or everyday wear.
  2. Add a touch of whimsy to your hairstyle with butterfly wing hair accessories. Use lightweight materials like colored paper, fabric, or feathers to create butterfly wings. Attach them to hair clips, headbands, or bobby pins using glue or stitching. These unique accessories are perfect for special occasions or everyday wear.

Level 2: Butterfly Wing Jewelry

  1. Resin Butterfly Wing Pendants: Create stunning jewelry pieces by embedding butterfly wings in clear resin pendants. Select preserved butterfly wings or use printed images of butterfly wings to create a vibrant and eye-catching pendant. Add necklace chains, earring hooks, or bracelet clasps to complete the jewelry pieces.
  2. Butterfly Wing Resin Earrings: Create stunning earrings by encapsulating small butterfly wings in clear resin. Choose delicate wings and arrange them in a desired pattern within the resin mold. Once the resin sets, attach earring hooks to the pendants, and you’ll have one-of-a-kind butterfly wing earrings that will add a touch of nature’s beauty to any outfit.
  3. Butterfly Wing Necklaces: Create stunning butterfly wing necklaces using preserved butterfly wings or printed images. Seal the wings with clear resin or protect them with glass cabochons. Attach the wings to necklace chains or cords using jump rings or wire wrapping techniques. These elegant necklaces will be a beautiful reminder of nature’s delicate creations.

Part 4: Butterfly-themed Home Decor

Level 1: Butterfly Wall Art

  1. Butterfly Wall Decals: Add a touch of elegance to your walls with butterfly-themed wall decals. These versatile and easy-to-apply stickers come in a variety of designs and sizes, allowing you to create a personalized and eye-catching piece of wall art.
  2. Butterfly Mobiles: Craft a beautiful butterfly mobile to hang in your home or nursery. Cut out butterfly shapes from colorful paper or fabric and attach them to strings or ribbons. Hang the butterflies from a branch or a hoop, and watch as they gently float and twirl in the air, adding a whimsical touch to any space.

Level 2: Butterfly Terrariums

  1. Butterfly Terrarium Decor: Create mini butterfly-themed terrariums using glass jars or containers. Fill the jars with soil, small plants, and artificial or preserved butterflies. Add decorative elements like moss, rocks, or fairy lights to enhance the enchanting atmosphere. These terrariums make stunning centerpieces or accents for shelves and tables.
  2. Butterfly Candle Holders: Transform plain glass candle holders into elegant butterfly-themed decor. Use butterfly stickers or decals to adorn the glass surface and create a beautiful silhouette when the candle is lit. These candle holders can add a touch of charm and warmth to any room in your home.

55 Beautiful Butterfly Craft Ideas - FeltMagnet

Conclusion:

Butterfly arts and crafts allows you to infuse your projects with the enchanting beauty and elegance of these beloved creatures. Butterfly-themed crafting offers a boundless opportunity for creativity and imagination. Whether you choose to create delicate paper crafts, design intricate mixed media masterpieces, or craft wearable accessories, the beauty and grace of butterflies will surely inspire your creations. From origami and quilling to mixed media and wearable crafts, the possibilities are endless. Whether you’re creating delicate paper butterflies, designing intricate collages, or crafting wearable accessories, butterfly-themed crafts provide a sense of joy and wonder.

Let your imagination soar as you explore various techniques and materials to bring the magical world of butterflies to life. So, gather your supplies, embrace the beauty of butterflies, and embark on a crafting journey that will captivate your heart and inspire your creative spirit.  Don’t forget to add a touch of whimsy to your style with butterfly wing hair accessories and necklaces. Let the vibrant colors and delicate patterns of butterflies guide your artistic journey and bring joy to your crafting endeavors. So, gather your materials, spread your wings, and immerse yourself in the enchanting world of butterfly-themed crafting.