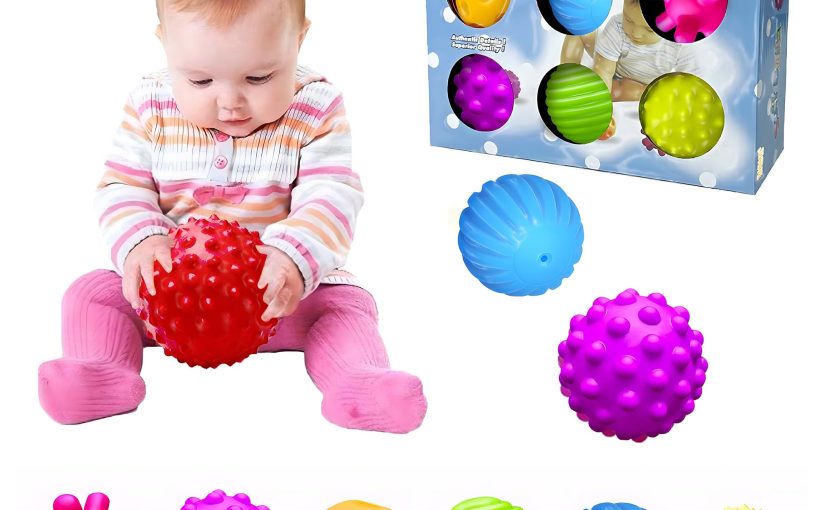
Top Bath Toys for Preschoolers in 2023
Finding the ideal bath toys for 3-5 year olds can spark joy and enhance learning during bath time. Here are some top toys that have caught attention in 2023:
- Interactive Water Books: These waterproof books combine storytelling with sensory play. Bright illustrations and floating characters make story time a splash.
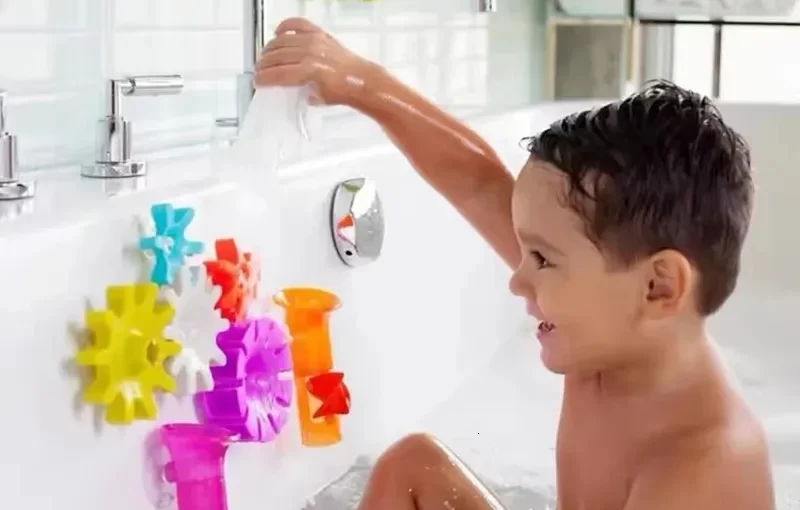
- Suction Cup Builders: Preschoolers can stick, stack, and create on bathtub walls. This fosters fine motor skills and spatial awareness.
- Musical Instruments: Water xylophones and drums offer a unique way to explore sound and rhythm while splashing around.
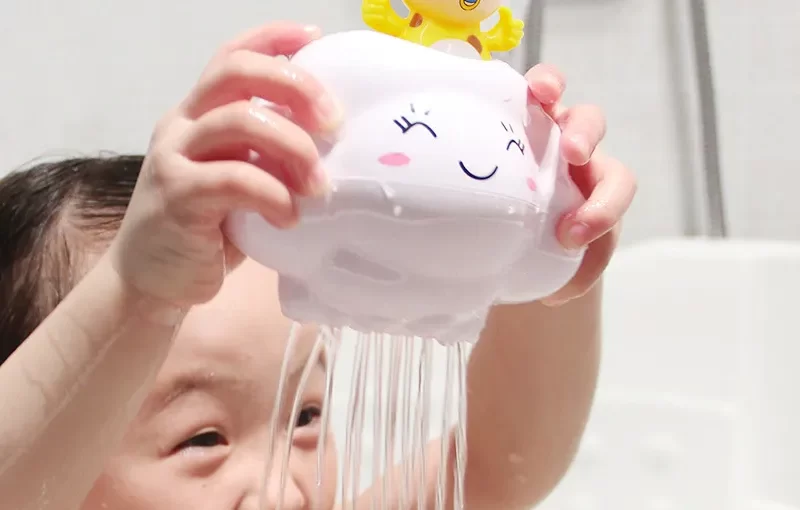
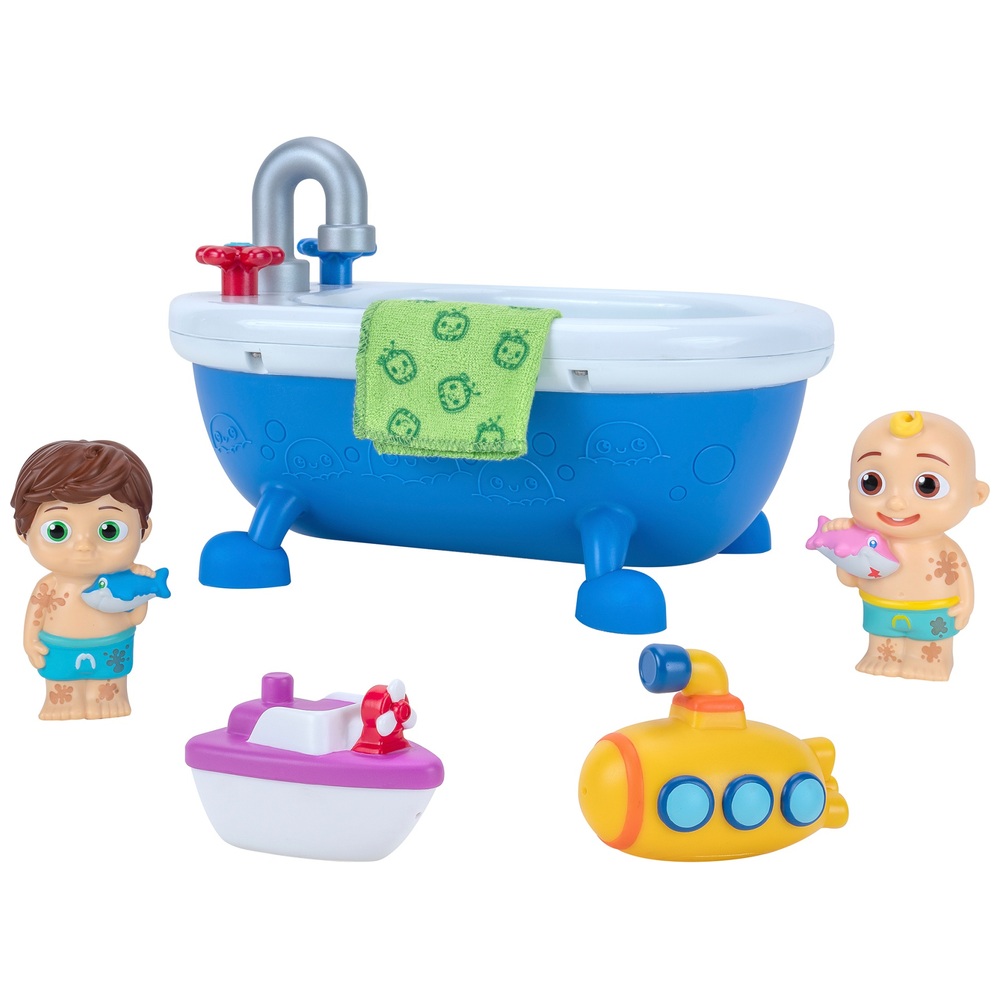
- Battery-Free Boats and Submarines: Simple mechanics allow these toys to glide through water, teaching cause and effect without the need for batteries.
- Pouring and Sifting Toys: Sets of cups and sifters with different hole patterns are wonderful for teaching basic physics concepts through play.
- Glow-in-the-Dark Toys: These can turn a regular bath into an exciting underwater adventure that also soothes any fear of darkness.
- Animal Rescue Adventures: Sets with little animals and rescue boats encourage role-playing and rescue missions that can boost empathy and caring.
These bath toys for 3-5 year olds not only provide entertainment but also aid in developmental milestones. Mixing fun with learning, they help make every bath time a cherished moment.
Benefits of Bath Time Play
Bath time isn’t just about getting clean; it’s a golden opportunity for preschoolers’ development. Here are the key benefits of incorporating bath toys for 3-5 year olds into water play:
- Enhances Learning: Bath toys turn routine washing into an educational experience. They introduce concepts like buoyancy, volume, and cause and effect.
- Stimulates Imagination: With a few toys, the bathtub becomes a canvas for creativity. Kids can imagine grand adventures, leading to enhanced storytelling and role-play skills.
- Improves Motor Skills: Grasping, pouring, and squeezing bath toys help build fine and gross motor skills which are crucial at this developmental stage.
- Promotes Emotional Development: Bath time play can be comforting, helping to allay fears and anxieties while fostering a sense of enjoyment and relaxation.
- Encourages Independence: For 3-5 year olds, learning through play aids in gaining confidence and independence as they master new tasks solo.
- Facilitates Bonding Time: Sharing playful moments in the bath strengthens bonds with parents or caregivers, as they engage in meaningful play and conversation.
Embracing these benefits, it’s clear why choosing the right bath toys for 3-5 year olds is important for more than just amusement. It’s about nurturing a child’s development in a fun and safe way.
Factors to Consider When Choosing Bath Toys
When selecting bath toys for 3-5 year olds, consider these key factors:
- Material Safety: Choose toys made from non-toxic, BPA-free materials to ensure health safety.
- Age Appropriateness: Verify that the toy is suitable for a preschooler’s age group to match developmental needs.
- Durability: Look for bath toys that are sturdy and resistant to mold and mildew buildup.
- Educational Value: Opt for toys that promote learning, like those teaching numbers, colors, or physics principles.
- Ease of Cleaning: Select toys that are simple to clean to maintain hygiene and extend toy life.
- Size and Storage: Ensure the toys fit comfortably in the bath space without overcrowding and can be stored easily.
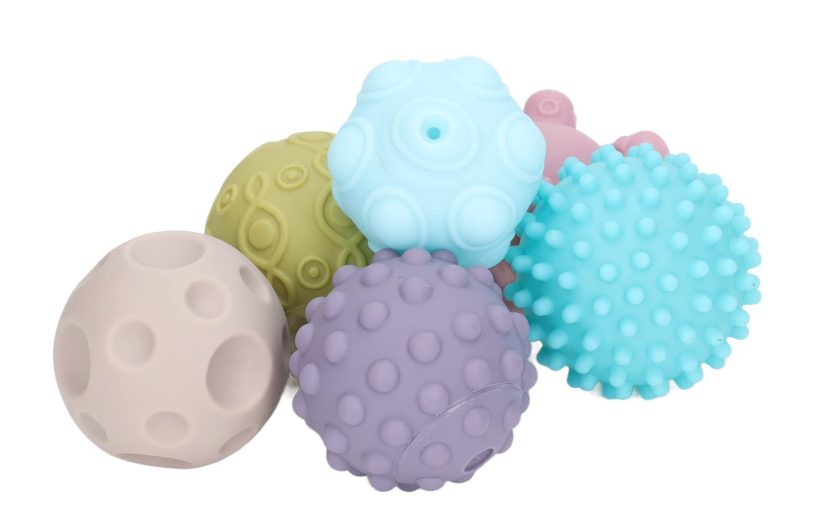
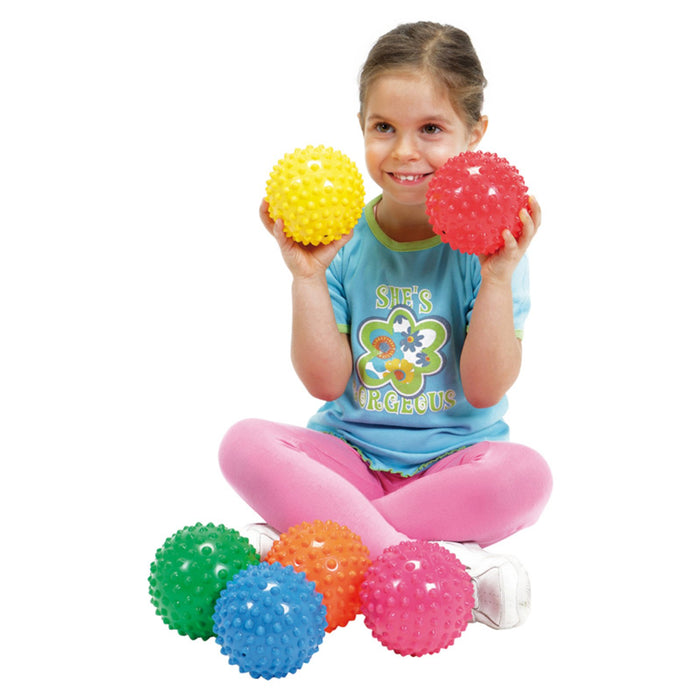
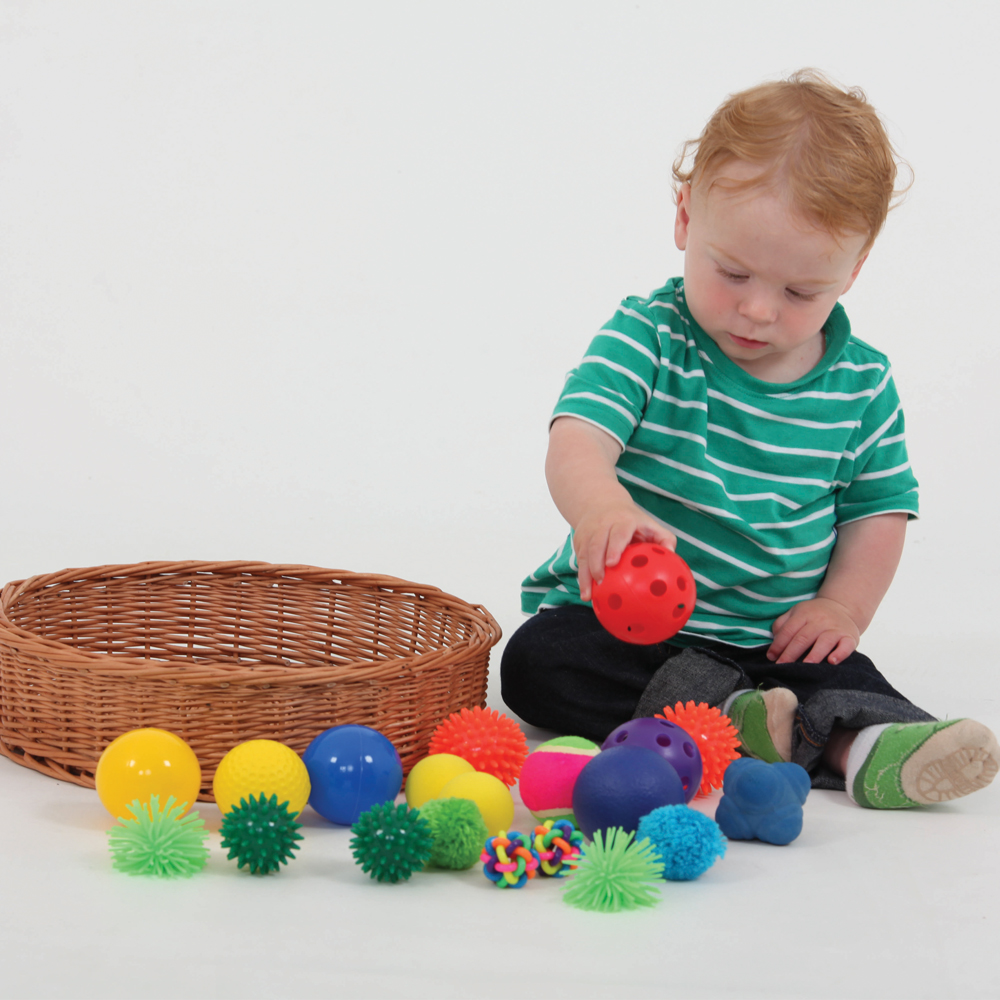
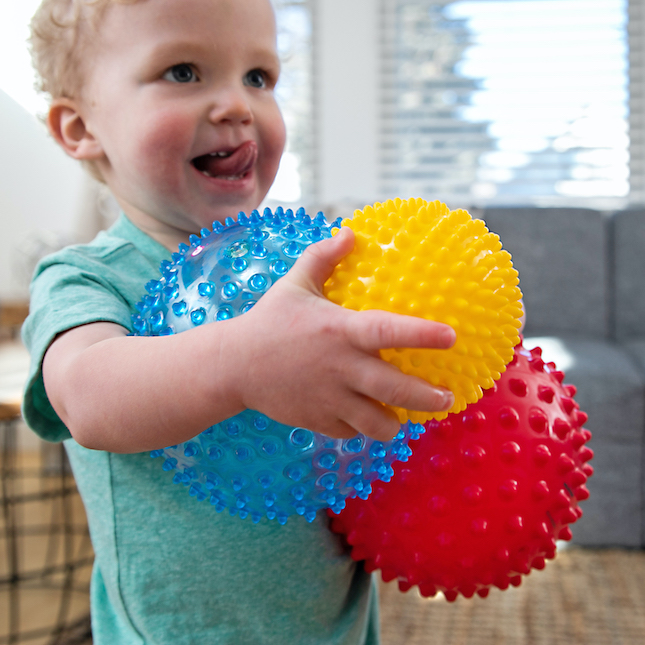
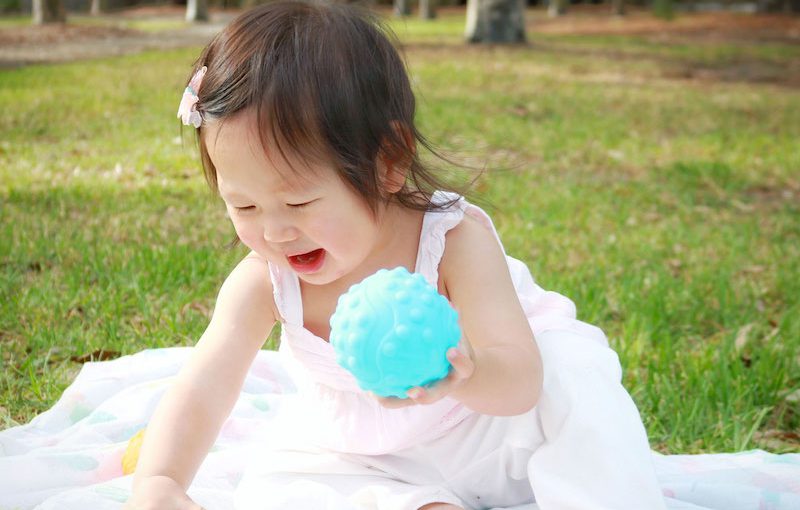
- Sensory Stimulation: Consider toys that engage multiple senses with textures, colors, and sounds.
- Play Value: Bath toys should offer diverse ways to play to keep the child interested over time.
Making the right choice isn’t just about fun; it’s about providing safe, educational, and durable options that contribute to your child’s developmental journey during bath time.

Safety Tips for Bath Toys
Ensuring safety with bath toys for 3-5 year olds is crucial. Here are essential safety tips to keep in mind:
- Check for Sharp Edges: Before bath time, examine toys for sharp edges or points that can cause injury.
- Regular Inspection: Frequently inspect bath toys for signs of wear and tear. Discard any damaged toys immediately.
- Supervision is Key: Always supervise preschoolers during bath time to prevent accidents or ingestion of small parts.
- Clean and Dry Toys: After use, thoroughly clean the toys and allow them to dry. This helps prevent mold and bacteria growth.
- Water Temperature: Ensure the bath water is comfortably warm, not hot, to avoid burns or scalding.
- Avoid Electrical Toys: Skip any toys that require electricity. Stick to manual or battery-operated options made for water play.
- Choking Hazard Precautions: Choose toys that are larger than your child’s mouth to reduce choking risks.
By following these safety tips, parents can provide a secure environment for their children’s developmental play during bath time.
Innovative Bath Toys for Cognitive Development
When it comes to cognitive development, innovative bath toys for 3-5 year olds can work wonders. These toys are designed not only to entertain but also to engage a child’s thinking processes and problem-solving skills during their routine bath time. Let’s explore some of these brilliant options:
- Puzzle Foam Mats: These soft, interlocking pieces double as a floating puzzle. They challenge preschoolers to match shapes and colors. The assembly process enhances their cognitive abilities.
- Counting Cups: A set of cups labeled with numbers or dots encourages counting practice and number recognition. This simple water play can lay the foundation for math skills.
- Color Mixing Toys: Using primary color toys that can blend to create secondary colors introduces basic science and encourages exploration and observation.
- Memory Games: Floating cards that need to be matched by theme or image test memory and improve concentration.
- Timer-Based Toys: Toys with water wheels or timers can teach time management and patience as children wait for the outcome.
These clever bath toys help transform bath time into an impressive cognitive exercise, setting the stage for more complex learning as children grow.
Bath Toy Storage Solutions
Once you have selected the perfect bath toys for 3-5 year olds, the next challenge is keeping them organized and tidy. Good storage solutions are key to maintaining a safe and clutter-free bathroom. Here are practical tips for storing your child’s bath toys:
- Use Mesh Bags: These allow water to drain out and air to circulate, helping toys dry faster to prevent mold.
- Install Hanging Organizers: Hang these on the wall or the side of the tub. They save space and keep toys within reach.
- Opt for Bins with Drainage Holes: Pick storage bins with holes at the bottom, so water can drain out easily.
- Consider a Bath Toy Scoop: Some scoops double as storage. Just scoop, rinse, and attach it to the wall.
- Leverage Corner Shelves: Corner shelving utilizes unused space and can be great for keeping toys off the tub floor.
- Repurpose Plastic Baskets: They are cost-effective, come in various sizes, and can be placed anywhere in the bathroom.
Proper storage of bath toys for 3-5 year olds not only keeps your bathroom neat but also extends the life of the toys by preventing mold and mildew. It also teaches preschoolers important habits about picking up after themselves. When considering storage solutions, make sure they are child-friendly and within the child’s reach so they can help with cleanup. This encourages independence and responsibility.
Popular Characters and Themed Bath Toys
When picking bath toys for 3-5 year olds, themed toys are a favorite. These toys often feature beloved characters from cartoons and movies that kids adore. Not only do they bring familiar faces into bath time, but they also encourage imaginative play.
Themed bath toys provide a sense of comfort and friendship to preschoolers. They often mimic characters’ adventures, allowing children to recreate stories or invent new ones. For example, superhero figures can turn a regular bath into an epic battle against evil or a daring rescue mission. Similarly, princesses and fairies inspire magical quests right in the tub.
Aside from fostering creativity, themed toys can be educational. They can help introduce and reinforce social concepts, such as cooperation and friendship. Toys featuring animals or historical characters can also spark interest in learning about the natural world and history.
Here are a few types of themed bath toys to consider:
- Action Heroes: These can inspire daring adventures and heroic acts.
- Animated Characters: Kids can bring their favorite cartoon scenes to life.
- Ocean Creatures: Underwater-themed toys can teach about marine life.
- Dinosaurs: Prehistoric playtime can educate on different species and eras.
- Space Explorers: Astronauts and space vehicles expand horizons beyond the stars.
Adding these themed bath toys for 3-5 year olds can make bath time something they eagerly anticipate. They serve as an invitation to explore, imagine, and learn in a vibrant, interactive setting.
 DIY Bath Toys and Games
Creating DIY bath toys and games can be a delightful experience for both parents and children. These homemade creations not only stimulate a child’s imagination but can also turn bath time into an educational and enjoyable event. Here are some simple and safe ideas for DIY bath toys and games suitable for 3-5 year olds:
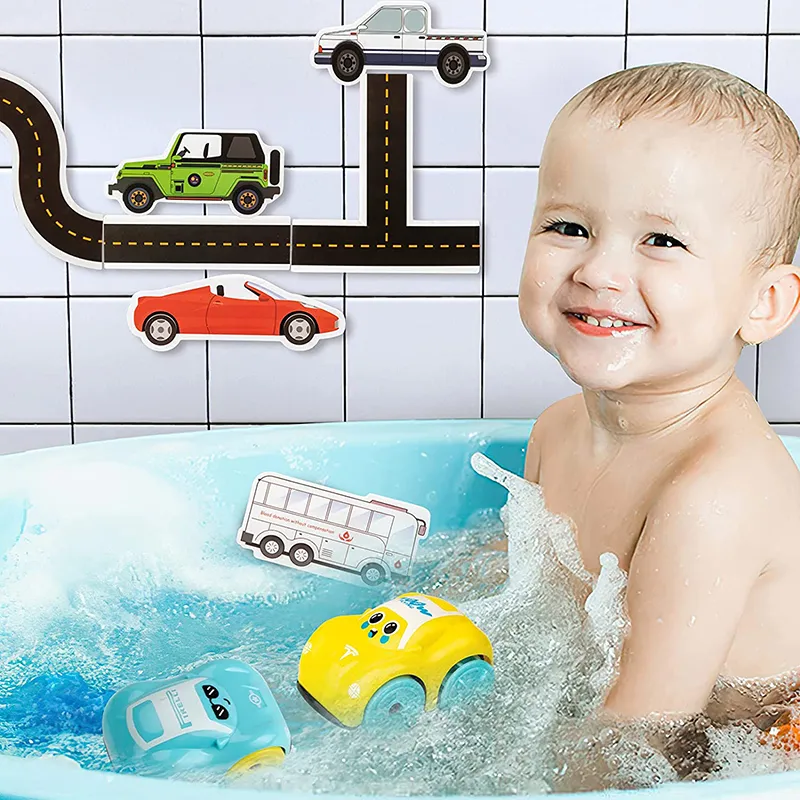
- Floating Shapes: Cut shapes out of colorful foam sheets. Kids can stick them to tiled walls when wet.
- Homemade Boats: Use recycled materials like yogurt pots or milk cartons to make little boats. Customizing with flags and stickers adds a personal touch.
- Fishing Games: Create a ‘fishing rod’ with a stick, string, and a magnet. Cut out and magnetize fish shapes from fabric or plastic.
- Bath Time Story Stones: Paint stones with non-toxic paint to create characters for storytelling adventures.
- DIY Water Drums: Turn plastic containers into drums by covering them with plastic wrap. Kids can tap them with fingers to make different sounds.
- Bottle Cap Puzzles: Collect bottle caps and draw or stick part of a picture on each. Scatter them in the tub for a matching game.
By making bath toys and games at home, parents can tailor playtime to their child’s interests, using simple materials that often go to waste. It’s an eco-friendly, cost-effective way to enhance the bath toys for 3-5 year olds collection and nurture a child’s creativity and problem-solving skills. Remember to always ensure that DIY toys are safe and free from sharp edges or small parts that could pose a choking hazard.