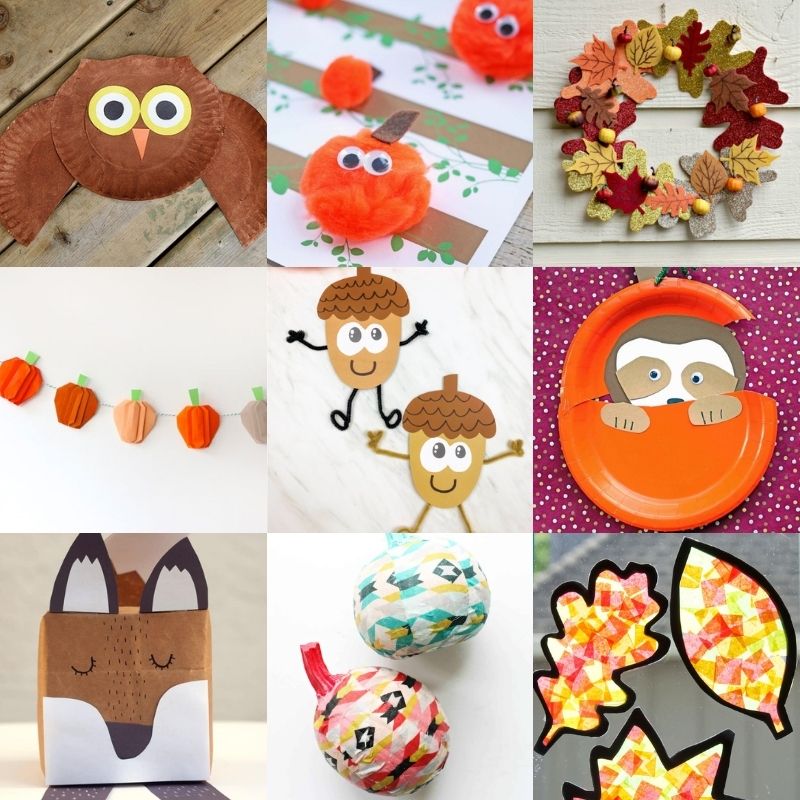
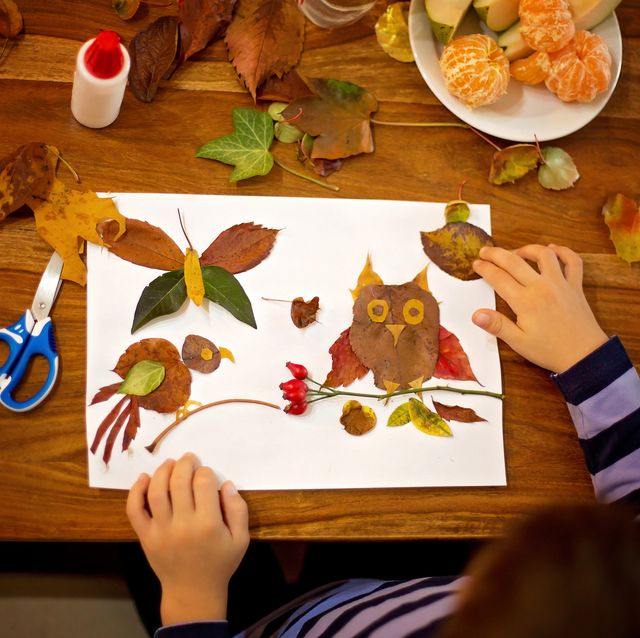
DIY Fall Arts and Crafts Projects for a Warm and Welcoming Home

12 Leaf Crafts That Celebrate All the Colors of Fall

Part 1: Easy Fall Crafts for Beginners

Fall is a season filled with warmth, coziness, and beautiful colors. It’s the perfect time to get creative and add some homemade touches to your home decor. In this section, we will explore two easy fall-themed arts and crafts projects that are perfect for beginners to try.

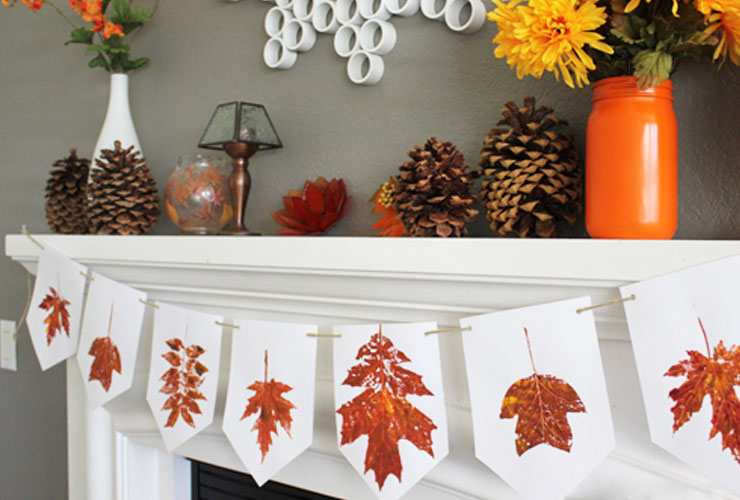
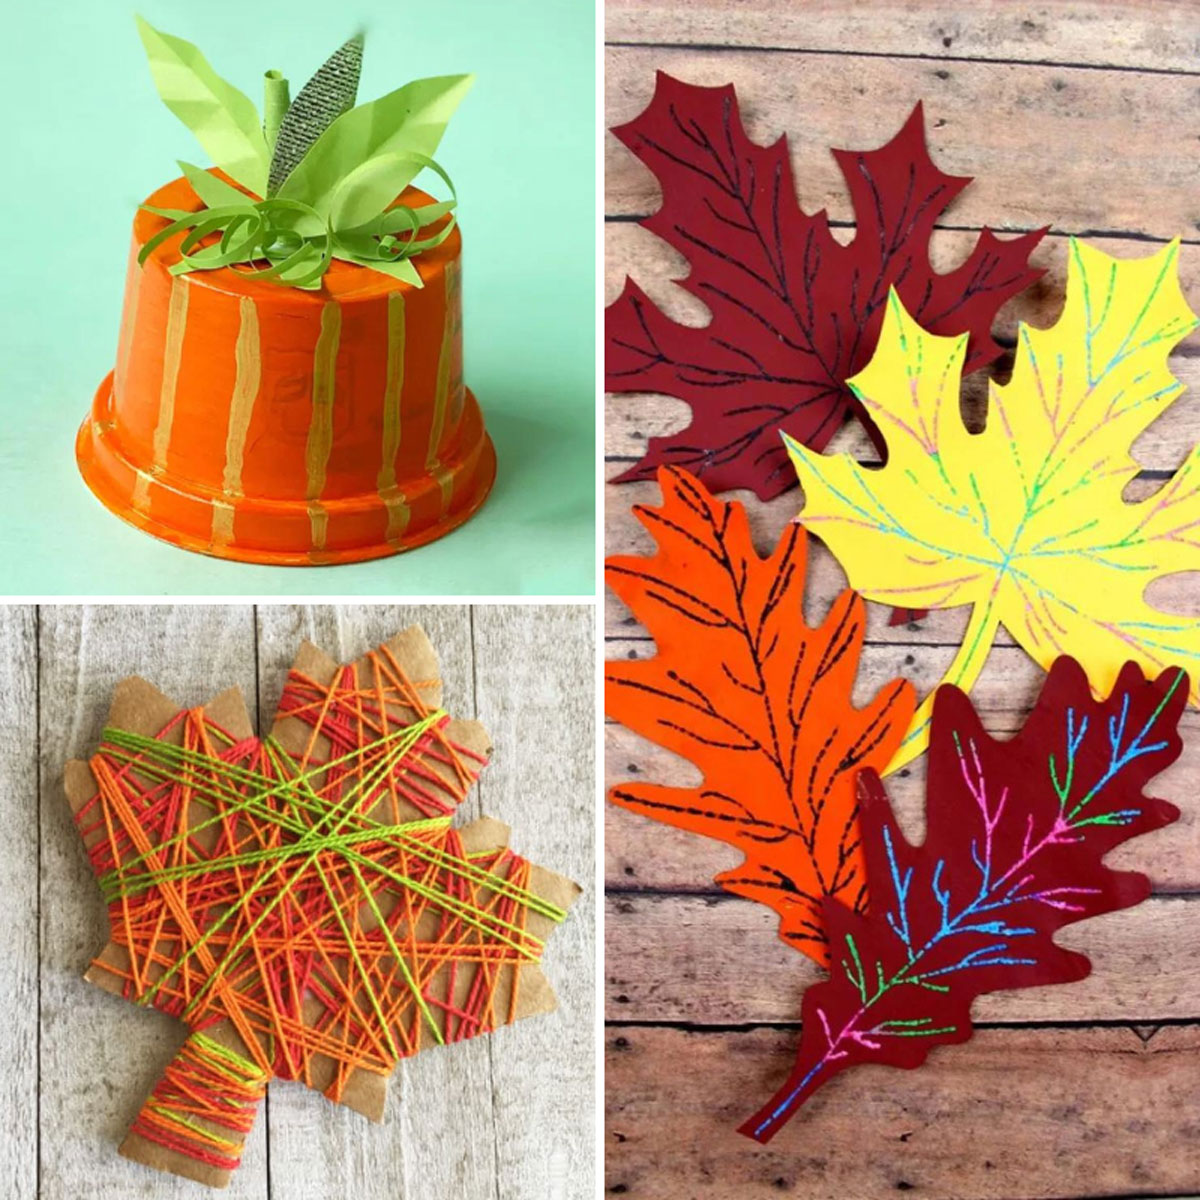
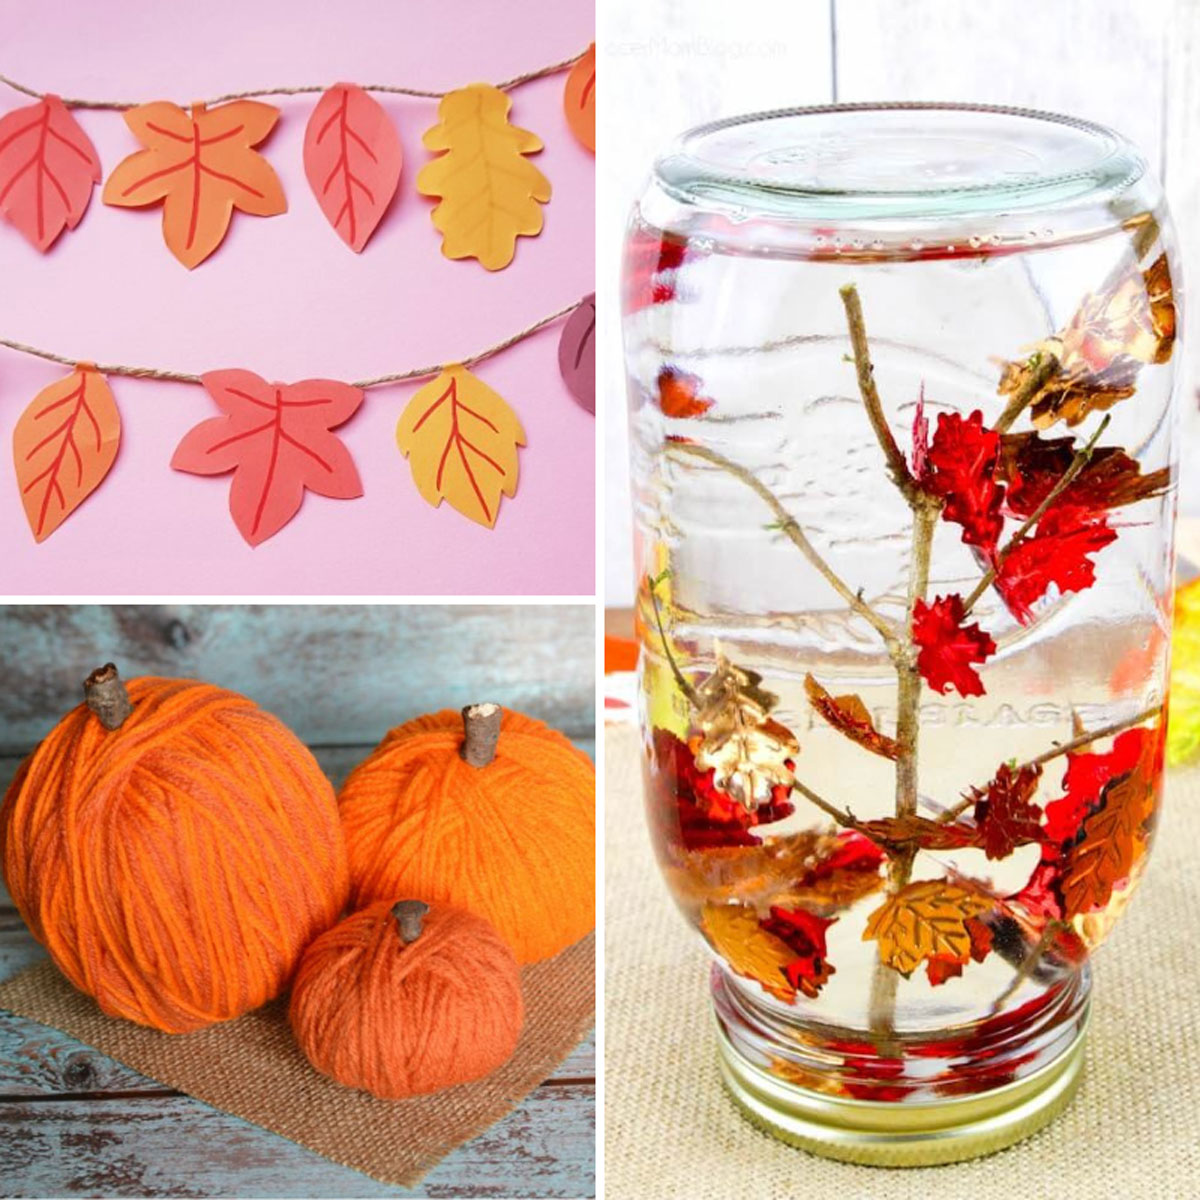
  1. Leaf Garland: Materials needed:
  • Assorted fall leaves (real or artificial)
  • String or twine
  • Hole puncher
  • Scissors
  • Optional: acrylic paint, paintbrush

Instructions:

  1. Collect a variety of fall leaves, either from your backyard or purchase artificial leaves from a craft store.
  2. If using real leaves, press them between the pages of a heavy book for a few days to ensure they are flat and dry.
  3. Optional: If desired, paint the leaves in fall colors using acrylic paint. Let them dry completely.
  4. Use a hole puncher to make a hole at the stem end of each leaf.
  5. Cut a length of string or twine to your desired length for the garland.
  6. Thread the string through the holes in the leaves, spacing them evenly along the string.
  7. Hang the leaf garland on a mantel, across a window, or on a blank wall to add a touch of autumn to your home.
  8. Mason Jar Candle Holders: Materials needed:
  • Mason jars (any size or shape)
  • Fall-colored tissue paper or fabric
  • Mod Podge or white glue
  • Paintbrush
  • Tea light candles

Instructions:

  1. Cut the tissue paper or fabric into small pieces or shapes that represent fall, such as leaves or acorns.
  2. Apply a layer of Mod Podge or white glue to the outside of the mason jar using a paintbrush.
  3. Carefully place the tissue paper or fabric pieces onto the glued area of the jar, overlapping them to create a collage effect.
  4. Apply another layer of Mod Podge or white glue over the tissue paper or fabric to seal and secure it in place.
  5. Let the jar dry completely.
  6. Once dry, place a tea light candle inside the jar to create a warm and cozy atmosphere when lit.
  7. Arrange the mason jar candle holders on a coffee table, dining table, or as a centerpiece for a fall-inspired display.

10 Autumn Crafts with Leaves for Kids

Part 2: Intermediate Fall Crafts for Progressing Skill Levels

For those who have some crafting experience and are looking for slightly more challenging projects, this section will explore two intermediate-level fall arts and crafts projects that will elevate your home decor.

  1. Fall Wreath: Materials needed:
  • Grapevine wreath or foam wreath form
  • Assorted fall foliage (real or artificial)
  • Wire cutters
  • Floral wire or hot glue gun
  • Ribbon or burlap for hanging
  • Optional: decorative accents (e.g., pinecones, mini pumpkins, berries)

Instructions:

  1. Start by gathering a variety of fall foliage, such as leaves, branches, berries, or flowers.
  2. If using real foliage, ensure they are dry and remove any excess stems or branches using wire cutters.
  3. Attach the foliage to the wreath form using floral wire or a hot glue gun, arranging them to create a balanced and aesthetically pleasing design.
  4. If desired, incorporate additional decorative accents like pinecones, mini pumpkins, or berries.
  5. Secure the accents using floral wire or hot glue.
  6. Once the wreath is complete, attach a ribbon or burlap loop to the back for hanging.
  7. Display the fall wreath on your front door, above a fireplace, or as a focal point on a wall to welcome guests with seasonal charm.
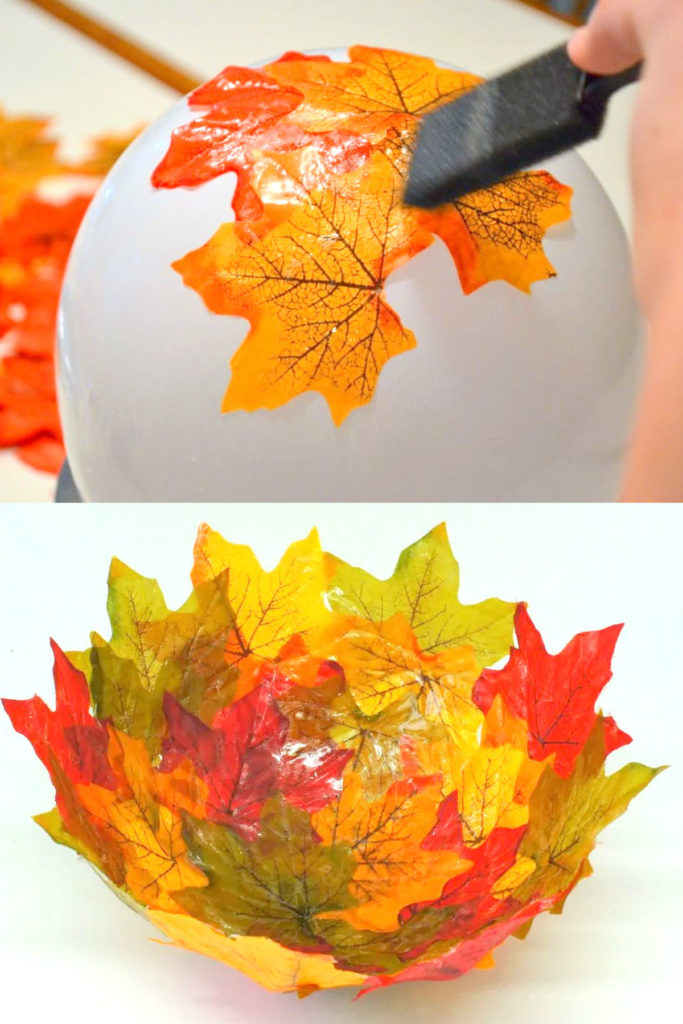
  8. Fall-inspired Mason Jar Luminary: Materials needed:
  • Mason jars (any size)
  • Autumn-colored tissue paper or vellum paper
  • Scissors
  • Mod Podge or white glue
  • Paintbrush
  • Battery-operated tea light candles

Instructions:

  1. Cut the tissue paper or vellum paper into small pieces or shapes that represent fall, such as leaves or pumpkins.
  2. Apply a layer of Mod Podge or white glue to the outside of the mason jar using a paintbrush.
  3. Carefully place the tissue paper or vellum paper pieces onto the glued area of the jar, overlapping them to create a collage effect.
  4. Apply another layer of Mod Podge or white glue over the tissue paper or vellum paper to seal and secure it in place.
  5. Let the jar dry completely.
  6. Once dry, place a battery-operated tea light candle inside the jar to give it a warm glow.
  7. Arrange the mason jar luminaries on a windowsill, line them up on a porch railing, or use them as a centerpiece to create an inviting atmosphere in your home.

How to make brilliantly easy autumn crafts with your kids - in 4 steps |  MadeForMums

Part 3: Advanced Level Crafts for Experienced Crafters

For those with more advanced crafting skills and a desire to tackle challenging projects, this section will explore two advanced fall arts and crafts projects that will truly make your home feel warm and welcoming.

  1. Knitted or Crocheted Blanket: Materials needed:
  • Knitting needles or crochet hook
  • Yarn in fall colors and various textures
  • Scissors
  • Optional: knitting or crochet pattern

Instructions:

  1. Choose a knitting or crochet pattern for a blanket that suits your skill level and desired size.
  2. Select yarn in fall colors and various textures to create depth and visual interest.
  3. Begin knitting or crocheting the blanket according to the chosen pattern, working with your desired dimensions.
  4. As you progress, switch between different yarn colors and textures to create a unique design that represents the colors and textures of fall.
  5. Continue knitting or crocheting until the blanket reaches your desired size.
  6. Bind off or finish the blanket according to the pattern instructions.
  7. Display the knitted or crocheted blanket on a couch, draped over a chair, or at the foot of a bed for a cozy and inviting touch to your home decor.
  8. Fall-themed Stained Glass Window: Materials needed:
  • Stained glass pieces in fall colors (available at craft stores)
  • Glass cutter or glass breaking pliers
  • Copper foil tape
  • Soldering iron and solder
  • Flux
  • Optional: glass grinder, safety goggles, and mask for glass grinding (if needed)

Instructions:

  1. Plan and sketch a fall-themed design for your stained glass window.
  2. Using a glass cutter or glass breaking pliers, carefully cut the stained glass pieces according to your design.
  3. If needed, use a glass grinder to smooth any rough edges or adjust the shape of the glass pieces.
  4. Apply copper foil tape to the edges of each glass piece, wrapping it around and pressing it firmly to ensure it adheres.
  5. Arrange the glass pieces according to your design, overlapping the foil tape edges.
  6. Apply flux to the foil tape to prepare it for soldering.
  7. Heat the soldering iron and carefully solder the foil tape edges together, creating a strong and secure bond.
  8. Repeat the soldering process until all the glass pieces are securely joined.
  9. Clean the stained glass window with a soft cloth to remove any excess flux or solder residue.
  10. Hang the stained glass window in a sunny window to invite the warm colors of fall into your home.
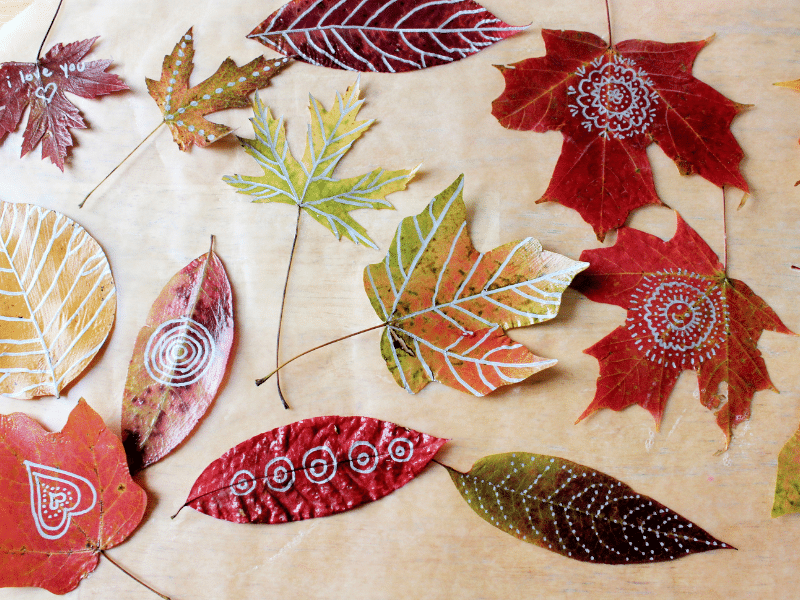
11 Fall Crafts for Kids

Conclusion

DIY fall arts and crafts projects offer an opportunity to infuse your home with warmth and create a welcoming environment. From easy leaf garlands and mason jar candle holders for beginners to intermediate-level fall wreaths and mason jar luminaries, and advanced knitted blankets and stained glass windows for experienced crafters, there is a project suitable for every skill level. So, gather your materials, embrace the beauty of fall, and embark on a journey to create unique and personalized crafts that will bring the cozy and inviting spirit of the season into your home.

Embrace the Colors of Autumn: Inspiring Fall Arts and Crafts Ideas

54 Fall Craft Ideas Your Family Will Love | Shutterfly

Part 1: Introduction to Fall Arts and Crafts

Level 1: The beauty of autumn

Autumn is a season of vibrant colors, crisp air, and cozy moments. It’s a time when nature transforms into a stunning palette of reds, oranges, yellows, and browns. Embracing the colors of fall through arts and crafts activities can be a wonderful way to celebrate the season and bring its beauty indoors.

Level 2: Benefits of arts and crafts during fall

Engaging in arts and crafts during the fall season not only offers a creative outlet but also provides numerous benefits. It can be a therapeutic and stress-relieving activity that allows you to unwind and reconnect with nature. Creating fall-inspired crafts can also help strengthen fine motor skills, encourage imagination, and foster a sense of gratitude for the beauty that surrounds us.

Fall Activities For Preschoolers To Teach Emotions: Leaf Faces - Craft  Learn and Play

Part 2: Harvest-Inspired Crafts

Level 1: Leaf Print Art

Fall leaves are nature’s artwork, and incorporating them into your crafts can create stunning results. Collect a variety of leaves in different shapes and sizes. Place them on a flat surface and cover them with a sheet of paper. Use crayons or pastels to gently rub over the paper, creating leaf imprints. Experiment with different colors to capture the essence of autumn. These leaf print artworks can be framed or used to make greeting cards, adding a touch of nature’s beauty to your home.

Level 2: Pinecone Bird Feeders

Fall is a season of change, not only for trees but also for wildlife. Help our feathered friends prepare for the colder months by making pinecone bird feeders. Collect pinecones and tie a string or twine to the top. Spread peanut butter or vegetable shortening over the pinecone, then roll it in birdseed until it’s fully coated. Hang the pinecone feeders in your backyard or on a tree branch, and watch as birds flock to enjoy the tasty treat. This craft not only nurtures birds but also provides an opportunity to observe the wonders of nature up close.

Faces from Fall Leaves | Fun Family Crafts

Part 3: Cozy Autumn Crafts

Level 1: Fall Scented Candles

As the days grow shorter and nights become cooler, add warmth and fragrance to your home with homemade fall-scented candles. Begin by melting soy wax flakes in a double boiler. Once melted, add a few drops of essential oils such as cinnamon, clove, or vanilla to create a cozy autumn aroma. Carefully pour the wax into heat-resistant glass jars and insert candle wicks. Allow them to cool and solidify before trimming the wicks. These homemade candles will not only create a cozy ambiance but also fill your space with the comforting scents of the season.

Level 2: Pumpkin Decorations

Pumpkins are iconic symbols of autumn, and they offer endless possibilities for creative crafts. Instead of traditional carving, consider painting or decoupaging pumpkins to create unique decorations. Use acrylic paints, glitter, and stencils to bring your designs to life. Alternatively, cut out autumn-themed shapes or patterns from tissue paper or napkins and adhere them to the pumpkins using a decoupage glue. These non-perishable pumpkins can be displayed indoors or outdoors, providing a festive touch to your fall decor.

Great Things to do with Sticks and Leaves - Nature Crafts

Part 4: Nature-Inspired Crafts

Level 1: Acorn Decorations

Fall is the perfect time to collect acorns, and they can be used to create charming decorations. Start by cleaning and drying the acorns to remove any dirt or insects. Paint them in various colors using acrylic paints or decorate them with glitter and sequins. You can also attach small twigs or leaves to the tops of the acorns using hot glue to create miniature acorn people or animals. These adorable acorn decorations can be displayed in a bowl, used as table scatter, or even turned into necklace pendants.

Level 2: Leaf Mobiles

Take advantage of the beautiful autumn leaves by creating leaf mobiles. Gather a selection of leaves in different shapes, sizes, and colors. Attach a string or twine to each leaf, ensuring they are evenly spaced. Tie the strings to a wooden dowel or a branch, creating a mobile-like structure. Hang the leaf mobile in a sunny window or from a ceiling hook, and watch as the leaves sway and dance with the gentle breeze. This craft not only celebrates the beauty of fall but also brings a touch of nature inside your home.

Process Art Leaf Painting with Kids | Arts and crafts for teens, Preschool  art projects, Preschool art

Part 5: Festive Fall Wreaths

Level 1: Fabric Fall Wreath

Welcome guests with a festive fall wreath made from fabric scraps. Gather an assortment of fall-colored fabrics such as oranges, yellows, and browns. Cut the fabric into strips or squares and tie them around a foam wreath form, covering it completely. Add embellishments like faux leaves, acorns, or small pumpkins using hot glue. Hang the fabric fall wreath on your front door or as a centerpiece on a wall, creating a warm and inviting ambiance.

Level 2: Corn Husk Wreath

Celebrate the fall harvest with a rustic corn husk wreath. Begin by soaking dried corn husks in warm water to make them pliable. Wrap the husks around a foam wreath form, securing them with hot glue. Layer the husks, slightly overlapping them, until the entire wreath is covered. Attach a burlap bow or adorn with dried wheat stalks for added charm. Hang the corn husk wreath on your front door or above a fireplace, and embrace the rustic beauty of autumn.

Fun Fall Crafts For Kids: the Ultimate List! - DIY Candy

Conclusion

Fall arts and crafts provide a delightful way to embrace the colors and spirit of autumn. Fall is a season that ignites our senses with its beautiful colors and cozy atmosphere. By embracing the colors of autumn through arts and crafts, we can bring the essence of the season into our homes. From leaf print art and pinecone bird feeders to fall-scented candles and pumpkin decorations, there are countless ways to create and appreciate the beauty of fall.  Whether you create leaf print art, make pinecone bird feeders, or indulge in cozy crafts like fall-scented candles and pumpkin decorations, the possibilities are endless. Nature-inspired crafts like acorn decorations and leaf mobiles bring the beauty of the season indoors, while festive fall wreaths add a warm and inviting touch to your home. So, gather your materials, let your creativity shine, and immerse yourself in the vibrant hues and cozy atmosphere of fall!


Harvest of Creativity: DIY Fall Arts and Crafts

Simple Fall Crafts

Part 1: Introduction to Fall Arts and Crafts

Level 1: The Beauty of Fall Arts and Crafts

Fall is a season filled with vibrant colors, cozy vibes, and a sense of harvest. It’s the perfect time to unleash your creativity through arts and crafts projects inspired by the season. The beauty of fall arts and crafts lies in the opportunity to celebrate the natural elements and create unique decorations or gifts that capture the essence of autumn.

Level 2: Gathering Materials for Fall Arts and Crafts

Before diving into your fall arts and crafts projects, it’s essential to gather the necessary materials and tools. Here’s a list of supplies you will need:

  1. Leaves: Collect colorful leaves from your backyard or local park. Press them between heavy books for a few days to flatten them before using them in your crafts.
  2. Acorns and Pinecones: Look for acorns and pinecones on nature walks or in your garden. Clean them thoroughly and let them dry before incorporating them into your crafts.
  3. Craft Paper: Choose fall-inspired colors like orange, yellow, brown, and red. Craft paper will be the foundation for many of your projects, allowing you to create shapes, cutouts, and decorative elements.
  4. Scissors: A pair of sharp scissors is essential for cutting paper, fabric, and other materials.
  5. Glue and Tape: Have a variety of glue options, including a glue stick, craft glue, and hot glue gun, depending on the project. Additionally, keep clear tape and double-sided tape on hand.
  6. Paint and Brushes: Acrylic paints in fall colors like red, orange, and brown can add depth and dimension to your crafts. Make sure you have a set of paintbrushes in different sizes for various painting techniques.

11 Fall Crafts for Kids

Part 2: Fall Arts and Crafts for Indoor Decorations

Level 1: Leaf Garland

Creating a leaf garland is a simple and beautiful way to bring the colors of fall inside your home. Here’s how to make it:

  1. Gather a variety of pressed leaves in different shapes and colors.
  2. Cut a piece of twine or string to your desired length, ensuring it is long enough to span the area where you want to hang the garland.
  3. Use a hole puncher or a hot needle to create small holes near the stems of the leaves.
  4. Thread the twine through the holes, alternating the leaves and spacing them evenly.
  5. Hang the leaf garland on a mantel, across a window, or along a wall to add a touch of autumnal charm to your home.

Level 2: Mason Jar Luminary

Mason jar luminaries create a warm and cozy ambiance, perfect for fall evenings. Here’s how to make your own:

  1. Clean and dry a mason jar of your desired size.
  2. Apply a layer of glue to the outside of the jar, covering about one-third of its surface.
  3. Wrap twine or raffia around the glued portion of the jar, securing it with more glue as needed.
  4. Place an LED candle or string lights inside the jar, allowing the light to shine through the spaces between the twine.
  5. Decorate the jar further with fall-themed elements like acorns, cinnamon sticks, or small dried flowers.

33 Fall Craft Ideas For Kids – Fun, Cheap And Easy Ideas, 59% OFF

Part 3: Fall Arts and Crafts for Outdoor Decorations

Level 1: Pumpkin Decorating

Pumpkins are synonymous with fall, and there are numerous ways to decorate them creatively. Here are two ideas to get you started:

  1. Painted Pumpkins: Choose a selection of pumpkins in different sizes. Use acrylic paints to create unique designs, such as polka dots, stripes, or even intricate scenes. Let your imagination run wild as you transform ordinary pumpkins into stunning works of art.
  2. Leaf Decoupage Pumpkins: Collect a variety of fall leaves and arrange them on the surface of a pumpkin. Apply a decoupage medium or a mixture of equal parts water and white glue to adhere the leaves to the pumpkin. Allow it to dry thoroughly before displaying your leaf-covered masterpiece.

Level 2: Scarecrow Craft

Making a scarecrow is a fun and traditional fall craft that adds character to your outdoor space. Here’s how you can create your very own scarecrow:

  1. Gather old clothes, such as jeans, a plaid shirt, and a floppy hat.
  2. Stuff the clothes with straw or raffia, focusing on the arms, legs, and torso. Use twine or string to secure the ends of the clothing.
  3. Create the scarecrow’s head by stuffing a burlap sack or pillowcase with straw. Use markers or buttons to add facial features.
  4. Attach the head to the top of a long wooden stake or broom handle.
  5. Insert the stake into the ground, securing it firmly. Arrange the scarecrow’s stuffed clothes around the stake, attaching them with twine or safety pins.
  6. Personalize your scarecrow with accessories like a scarf, a gardening tool, or a friendly scarecrow face.

Fall Themed Crafts & Activities - S&S Blog

Part 4: Fall Arts and Crafts for Kids

Level 1: Leaf Printing

Leaf printing is a fun and easy fall craft that allows kids to explore nature’s beauty. Here’s how to do it:

  1. Collect a variety of leaves in different shapes and sizes.
  2. Place a sheet of craft paper or plain paper on a flat surface.
  3. Apply a thin layer of paint to one side of a leaf using a paintbrush or sponge.
  4. Press the painted side of the leaf onto the paper, applying gentle pressure.
  5. Carefully lift the leaf off the paper to reveal a beautiful leaf print.
  6. Repeat the process with different leaves and colors to create a vibrant fall-inspired artwork.

Level 2: Pinecone Animals

Pinecone animals are a delightful craft that sparks kids’ imagination. Here’s how to make them:

  1. Collect various sizes of pinecones, preferably with open scales.
  2. Choose the pinecone that resembles the body of the animal you want to create, such as an owl or a hedgehog.
  3. Use craft paper or felt to cut out shapes for the animal’s head, ears, eyes, and other features.
  4. Attach the paper or felt pieces to the pinecone using glue or small pieces of double-sided tape.
  5. Add details like googly eyes, feathers, or pipe cleaners for additional texture and character.
  6. Let the glue dry before playing with or displaying your adorable pinecone animals.

Fall Garland, Leave Garland, Autumn Decorations, Thanksgiving Decorations,  Classroom Decorations, W… | Fall classroom decorations, Fall crafts, Fall  classroom ideas

In conclusion, fall arts and crafts provide the perfect opportunity to celebrate the season’s beauty and unleash your creativity. Whether you’re crafting indoor decorations like leaf garlands and mason jar luminaries or creating outdoor features such as painted pumpkins and scarecrows, these DIY projects bring the warmth and colors of fall into your home and garden. Embrace this harvest of creativity and enjoy the process of making unique pieces that capture the essence of autumn.

Fall Foliage Delights: Creative Fall Arts and Crafts

21 + Fall Crafts for Preschoolers * Moms and Crafters

Part 1: Embracing the Beauty of Fall Foliage

Level 1: Introduction to Fall Foliage

Fall is a season that captivates our senses with its vibrant colors and crisp air. One of the most enchanting aspects of autumn is the stunning transformation of leaves, as they turn into a kaleidoscope of reds, oranges, and yellows. If you’re looking to embrace the beauty of fall foliage in a creative way, why not indulge in some fall arts and crafts? In this article, we’ll explore various craft ideas that will allow you to celebrate the splendor of the season.

Level 2: Understanding the Science behind Fall Colors

To truly appreciate the beauty of fall foliage, it’s fascinating to delve into the science behind the changing colors of leaves. During the summer, leaves produce chlorophyll, which gives them their green color and is essential for photosynthesis. As the days get shorter and temperatures cool down in the fall, the production of chlorophyll slows down and eventually stops. As a result, other pigments like carotenoids (which produce yellow and orange hues) and anthocyanins (which create red and purple shades) become more visible. This process leads to the breathtaking display of autumn colors that we adore.

27 + Fall Crafts for Kids of all Ages!

Part 2: Fall Crafts Inspired by Leaves

Level 1: Leaf Prints and Rubbings

One of the simplest yet most beautiful ways to incorporate fall foliage into your arts and crafts is through leaf prints and rubbings. Gather a variety of leaves in different shapes and sizes, and place them on a flat surface with the veined side facing up. Apply a thin layer of paint or ink to the leaf, ensuring it covers the entire surface. Carefully place a piece of paper on top of the leaf, and gently press down. Peel back the paper to reveal a stunning leaf print. You can experiment with different colors, layering techniques, and types of paper to create unique prints that showcase the intricacies of fall leaves.

Another method to capture the essence of leaves is through leaf rubbings. Place a leaf under a piece of thin paper or tracing paper, and use a crayon or colored pencil to gently rub over the leaf. As you rub, the shape and pattern of the leaf will transfer onto the paper, resulting in a beautiful and delicate representation of the leaf. Mix and match various leaf rubbings to create collages or use them as decorative elements in other fall-themed crafts.

Level 2: Leaf-inspired Decorations

Fall leaves can also serve as inspiration for creating beautiful decorations that bring the spirit of autumn indoors. One idea is to make a leaf garland. Gather colorful leaves, punch small holes near the stems, and string them together using twine or ribbon. Hang the garland along a wall, window, or fireplace mantle to instantly add a touch of fall to your living space. You can experiment with different leaf sizes and colors or even spray paint the leaves for a more whimsical look.

For a unique and artistic centerpiece, consider creating leaf luminaries. Collect large, sturdy leaves and carefully coat them with a thin layer of Mod Podge or a similar adhesive. Place the leaves on the outside of glass jars, making sure they stick firmly. Allow the adhesive to dry completely, and then insert tea lights or LED candles into the jars. When lit, the luminaries will cast a warm and inviting glow, showcasing the intricate details of the leaves. Surround them with acorns, pinecones, or other natural elements to complete the fall-themed display.

24 Gorgeous Fall Leaf Crafts & Easy DIY Decor - A Piece Of Rainbow

Part 3: Exploring Other Fall-inspired Crafts

Level 1: Pumpkin Crafts

No fall crafts list would be complete without mentioning pumpkins. Pumpkins are an iconic symbol of autumn, and there are countless creative ways to incorporate them into your crafts. One idea is to create pumpkin-inspired paintings. Use acrylic or watercolor paints to depict pumpkins in various shapes, sizes, and colors. Experiment with different brush strokes and techniques to add depth and texture to your artwork. You can even try painting on different surfaces like canvas, wood, or paper to create unique pumpkin masterpieces.

Level 2: Nature-inspired Wreaths

Fall wreaths are a popular way to adorn your front door or add a festive touch to your home decor. Create your own nature-inspired wreath using materials like pinecones, acorns, dried leaves, and twigs. Start with a basic wreath form made of wire or grapevine and attach the natural elements using hot glue or floral wire. Add a bow or ribbon in fall colors to complete the look. Alternatively, you can incorporate faux leaves, flowers, or berries for a longer-lasting wreath that can be enjoyed year after year.

20 Easy Fall Crafts for Kids - Fun DIY Fall Craft Ideas

Part 4: Harvest-inspired Crafts

Level 1: Harvest-themed Collages

Fall is a season of bountiful harvest, and you can incorporate the essence of this abundance into your crafts. Create harvest-themed collages using materials like dried corn kernels, wheat stalks, dried leaves, and colorful fall flowers. Cut out various shapes and arrange them on a piece of cardboard or canvas, adhering them with glue. You can also add additional elements like ribbons, buttons, or fabric scraps to enhance the texture and visual interest of your collage. The end result will be a beautiful representation of the fall harvest that can be displayed on your walls.

Level 2: Cornucopia Centerpieces

A cornucopia, also known as a “horn of plenty,” is a traditional symbol of abundance and prosperity. Create your own cornucopia centerpiece using a cone-shaped basket or a rolled-up piece of sturdy paper. Fill it with an assortment of fall fruits, vegetables, and nuts like apples, pears, pumpkins, gourds, and walnuts. Arrange them in a visually pleasing manner, ensuring they spill out of the cornucopia in a cascading effect. Place the centerpiece on your dining table or mantel, bringing the harvest spirit into your home.

Easy Fall Crafts For Kids

In conclusion, fall foliage provides endless inspiration for creative arts and crafts. Whether you choose to make leaf prints and rubbings, decorate with leaf-inspired garlands and luminaries, create pumpkin paintings, or design nature-inspired wreaths, there are numerous ways to embrace the beauty of autumn. These crafts not only allow you to celebrate the splendor of the season but also provide an opportunity to connect with nature and explore your artistic abilities. So, grab your art supplies, head outside, and let the wonders of fall foliage inspire your next creative endeavor.