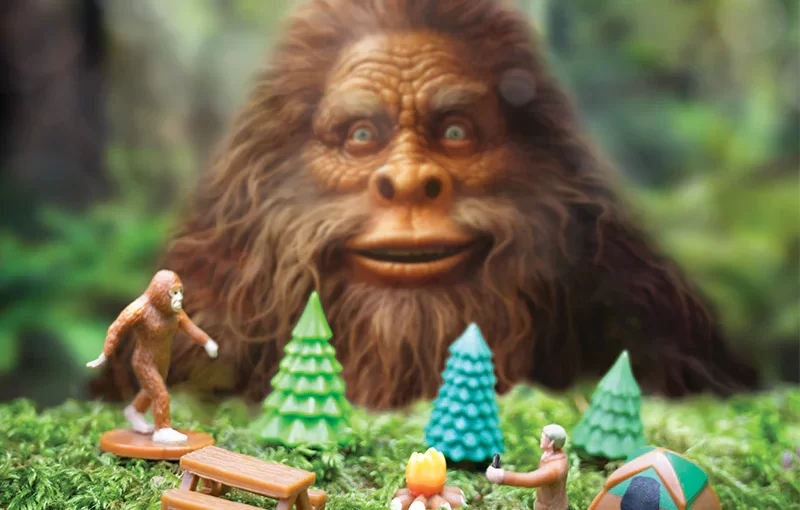
Introduction
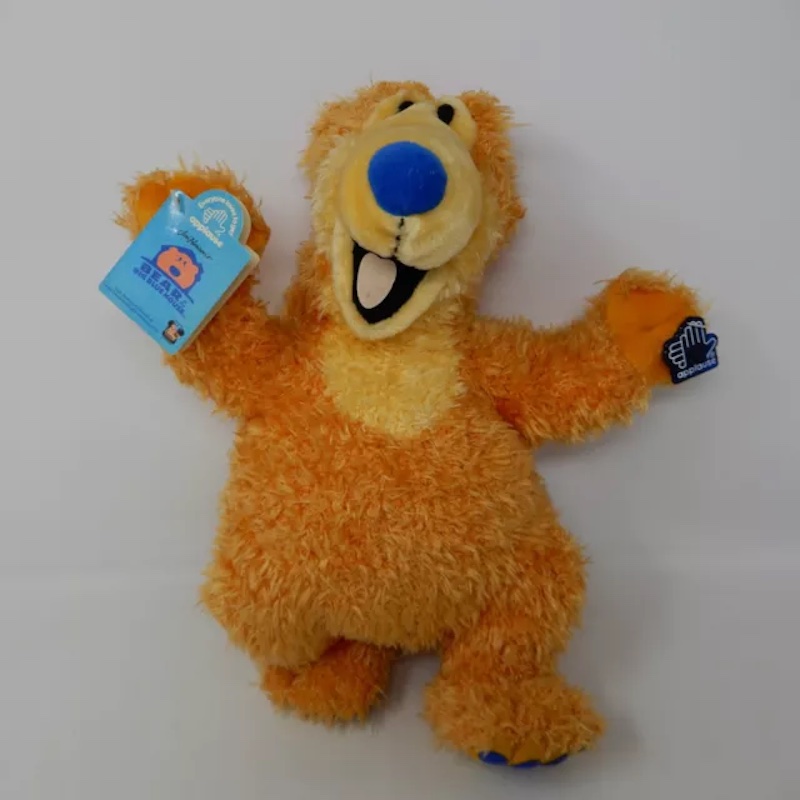
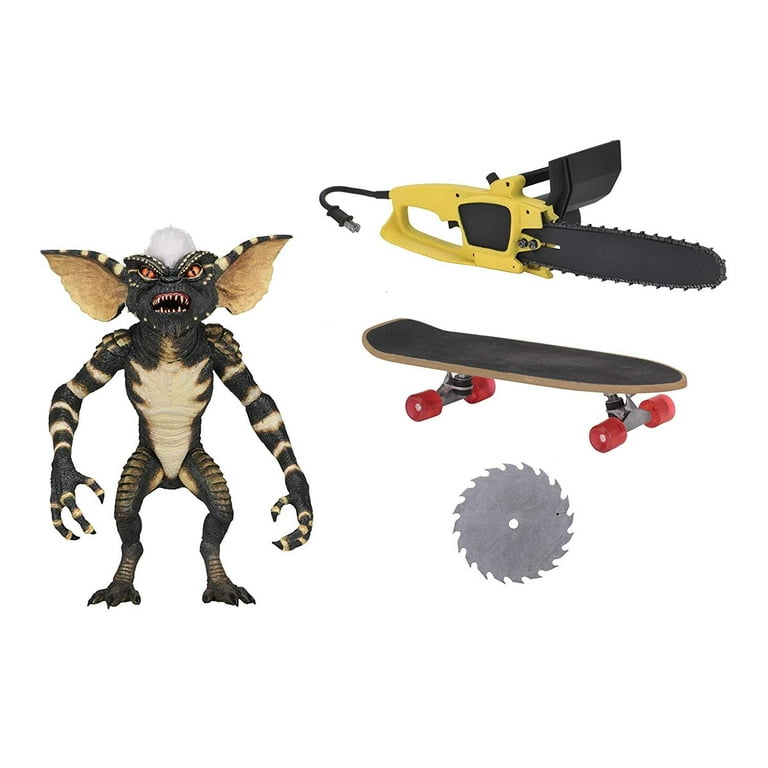
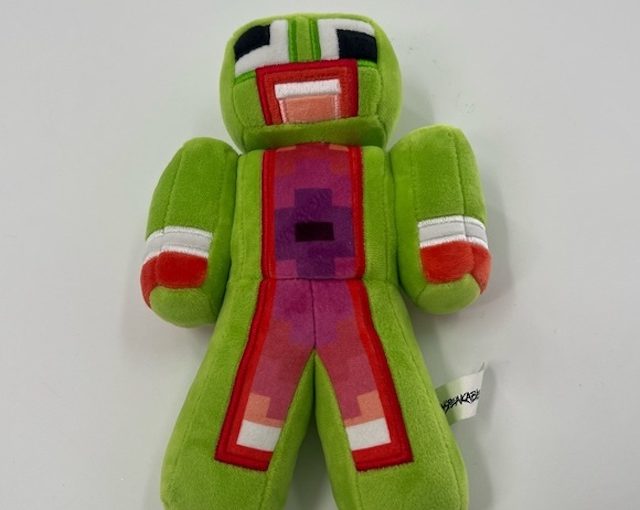
Unspeakable Toys is a brand that has gained a lot of popularity in recent years, especially among kids and teenagers. The brand is known for its wide range of unique and innovative toys. They are designed to provide endless fun and entertainment. Unspeakable Toys offers a variety of products including plush toys, action figures, building sets, and much more. The brand is constantly coming out with new and exciting toys that are sure to capture the attention of kids and adults alike.
Toys have always been a source of joy and entertainment for children worldwide. However, there exists a dark side to the toy industry, as some toys can be deemed as unspeakable due to their controversial and offensive nature. We will explore the world of unspeakable toys. Delving into their origins, impact, and the controversies surrounding them.
Part 1: The Origins of Unspeakable Toys
One of the most popular aspects of Unspeakable Toys is its branding. The brand is associated with the popular YouTuber Unspeakable, who has gained a massive following for his entertaining and family-friendly content. This connection to a well-known and beloved YouTuber has helped to elevate Unspeakable Toys’ visibility and appeal, making it a go-to choice for kids who are looking for toys that are associated with their favorite online personality.
Level 1: Historical Roots
Unspeakable toys date back to ancient civilizations, where offensive and controversial items were often used in religious and cultural rituals. In more recent history, toys with unsuitable and offensive themes have also been produced by toy manufacturers, leading to public outcry and controversy.
Level 2: Modern Production
With the rise of mass production and globalization, unspeakable toys have become more accessible to consumers worldwide. The internet has also played a significant role in the distribution and promotion of such toys, sparking debates and discussions on their ethical implications.
Part 2: The Impact of Unspeakable Toys on Children
In addition to its strong branding, Unspeakable Toys is also known for its high-quality products. The company takes great care to ensure that all of its toys are made with durable materials and are safe for kids to play with. This commitment to quality has helped Unspeakable Toys to gain a reputation for being a trustworthy and reliable brand.
Level 1: Psychological Effects
Exposure to unspeakable toy can have a detrimental impact on a child’s psychological development. Shaping their attitudes and beliefs towards sensitive issues such as race, gender, and violence. Furthermore, the normalization of offensive themes in toys can desensitize children to these issues. And perpetuating harmful stereotypes and prejudices.
Level 2: Parental Concerns
Concerned parents and caregivers often struggle to shield their children from unspeakable toys, particularly in today’s digital age where children are exposed to a wide range of media and consumer products. This has sparked calls for greater regulation and oversight of the toy industry to protect young consumers from harmful and inappropriate content.

Part 3: Controversial Unspeakable Toys Throughout History
Level 1: Racially Insensitive Toys
Throughout history, there have been numerous instances of racially insensitive toys that perpetuate harmful stereotypes and prejudices. From caricatures of African-American individuals to offensive depictions of indigenous peoples. These toys have sparked outrage and calls for greater cultural sensitivity in the toy industry.
Level 2: Gendered Stereotypes
Toys that reinforce traditional gender roles and stereotypes have also come under fire for their impact on children’s perceptions of gender. From dolls that promote unrealistic beauty standards to action figures that perpetuate toxic masculinity. These toys have ignited debates on the portrayal of gender in children’s playthings.
Part 4: The Controversy Surrounding Unspeakable Toys
Level 1: Ethical Considerations
The production and sale of the unspeakable toy raise ethical considerations for toy manufacturers, retailers, and consumers. Questions arise about the responsibility of companies to uphold ethical standards and the role of consumers in challenging and boycotting offensive products.
Level 2: Legal Ramifications
In some cases, unspeakable toy has prompted legal action, with regulatory bodies and advocacy groups pushing for greater accountability and oversight in the toy industry. This has led to the removal and recall of offensive toys, setting a precedent for future enforcement of ethical standards.
Part 5: Navigating the Future of Toy Production
Level 1: Increased Awareness
As awareness of unspeakable toys grows, there is a greater push for transparency and accountability in the toy industry. Consumers are becoming more vocal about their concerns, demanding ethical and culturally sensitive representation in children’s toys.
Level 2: Promoting Inclusivity
Toy manufacturers are increasingly under pressure to promote inclusivity and diversity in their product lines. Reflecting the varied experiences and identities of children worldwide. This shift towards more inclusive and culturally sensitive toys is a positive step towards challenging the unspeakable nature of certain products.
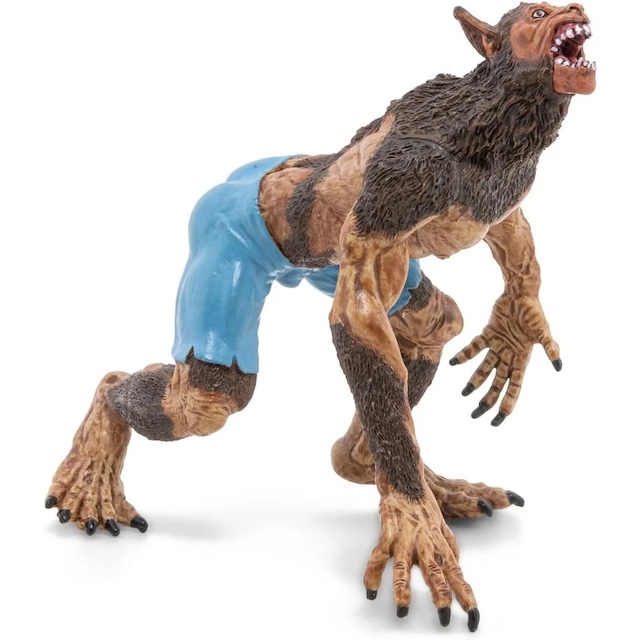
Part 6: Unsettling Features
Level 1: Unsettling Features
Some unspeakable toys with unsettling features, such as lifelike eyes that seem to follow you, or eerie music that plays unexpectedly. These features can create a sense of unease and discomfort for anyone nearby.
Level 2: Psychological Impact
The unsettling features of unspeakable toys can have a psychological impact on those who come into contact with them. They may experience feelings of anxiety, fear, or even dread when in the presence of these toys, leading to a deep sense of unease and discomfort.
Part 7: Dark History
Level 1: Dark History
Unspeakable toys often have a dark and mysterious history, with rumors and legends surrounding their origins. Some may be said to be cursed, haunted, or even possessed by malevolent spirits, adding to their sinister reputation.
Level 2: Alleged Paranormal Activity
Many unspeakable toys can exhibit alleged paranormal activity, such as moving on their own. Making strange noises, or causing unexplained disturbances. These claims add to the fear and fascination surrounding these toys.
Part 8: Cultural Taboos
Level 1: Cultural Taboos
Some unspeakable toys may touch on cultural taboos, such as incorporating symbols or imagery. They are considered offensive or sacrilegious in certain cultures. This can lead to controversy and backlash, further adding to the dark reputation of these toys.
Level 2: Impact on Mental Health
The unsettling and disturbing nature of unspeakable toys can have a significant impact on the mental health of those who are exposed to them. Long-term exposure to these toys can contribute to feelings of anxiety, paranoia, and even trauma, highlighting the potential dangers they pose to individuals’ well-being.

Conclusion
Another reason for the popularity of Unspeakable Toys is the fact that the brand continuously introduces new and exciting products to its lineup. Whether it’s a new series of plush toys based on Unspeakable’s iconic characters, or a unique building set that allows kids to create their own adventures. Unspeakable Toys is always coming up with fresh and exciting ideas that capture the imagination of kids everywhere.
Overall, Unspeakable Toy has become a beloved brand among kids and teenagers who are looking for toys that are fun, engaging, and inspired by their favorite personalities. With a commitment to quality, a wide range of products, and a strong connection to a popular YouTuber. Unspeakable Toy is sure to remain a top choice for kids and parents alike for years to come.
Unspeakable toy has, and continues to, generates controversy and concerns within the toy industry. The impact of these toys on children, along with the ethical and legal implications, necessitates a critical examination of their production and distribution. As we navigate the future of toy production, promoting inclusivity and holding manufacturers accountable for ethical standards will be crucial in mitigating the proliferation of unspeakable toys.