Introduction
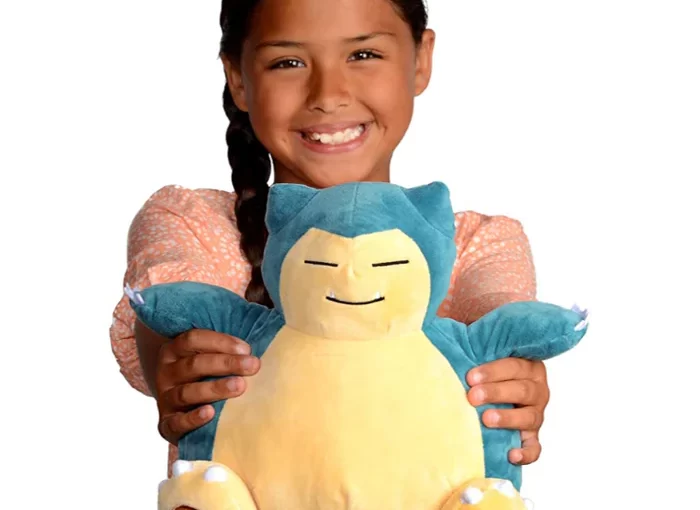
The Snorlax plush is a popular toy among Pokémon fans, especially for those who love the sleepy and lovable Snorlax character. With its round and cuddly design, the Snorlax plush is a favorite among collectors and children alike. The plush is made from soft and plush materials, making it perfect for cuddling and playing.
Snorlax, a beloved character from the Pokemon franchise, has captured the hearts of fans young and old. With its endearing appearance and cuddly nature, Snorlax has become a popular choice for plush toys. In this article, we will explore the evolution of Snorlax plush, from its humble beginnings to its current status as a sought-after collector’s item.
Part 1: The Origins of Snorlax Plush
In addition to its adorable appearance, the Snorlax plush is also known for its high-quality construction. The plush is durable and well-made, ensuring that it can withstand plenty of hugs and playtime. Its attention to detail, from the facial features to the coloration, makes it a lifelike representation of the character from the Pokémon series.
Level 1: Early Merchandise
In the early days of Pokemon’s popularity, Snorlax plush toys were a staple of the franchise’s merchandise. These plush toys were often simple in design, featuring Snorlax’s trademark chubby figure and sleepy expression. They were a hit among children and adults alike, with their soft, huggable bodies and adorable faces.
Level 2: Limited Availability and Rarity
As the years went by, early Snorlax plush toys became increasingly rare and sought after by collectors. Due to their limited availability, these plush toys began to fetch high prices on the secondary market, making them a prized possession for hardcore Pokemon fans.

Part 2: The Rise of High-Quality Snorlax Plush
The Snorlax plush comes in various sizes, ranging from small keychain versions to large, huggable sizes. This variety allows fans to choose the perfect size for their collection or for gifting to friends and loved ones. Some versions of the plush even come with special features, such as sound effects or light-up features, adding an extra element of fun and interactivity.
Level 1: Improved Design and Detail
With the growing demand for Snorlax plush, toy manufacturers began to produce higher quality versions of the beloved character. These plush toys featured improved design and detail, capturing Snorlax’s essence in a more realistic and expressive manner. Fans were delighted by the attention to detail, from Snorlax’s distinct facial features to its iconic belly.
Level 2: Collector’s Editions and Exclusive Releases
As the popularity of Snorlax plush continued to soar, manufacturers started to produce collector’s editions and exclusive releases. These limited-edition plush toys featured unique designs, materials, and packaging, making them highly sought after by serious collectors. With their limited availability, these plush toys quickly became coveted items within the Pokemon community.
Part 3: Snorlax Plush in Popular Culture
Level 1: Iconic Representation
Snorlax plush toys have become iconic representations of the character, appearing in various forms of media and pop culture. From television shows to movies, Snorlax plush has played a significant role in spreading the charm and appeal of the character to a wider audience.
Level 2: Celebrity Endorsements and Influencer Culture
Snorlax plush toys have also gained visibility through celebrity endorsements and influencer culture. Many well-known personalities and social media influencers have proudly showcased their Snorlax plush collections, further elevating the status of these toys in popular culture.

Part 4: Snorlax Plush as a Collector’s Item
Level 1: Rarity and Value
With the limited availability of certain Snorlax plush toys, they have become highly sought after by collectors. Rare and exclusive editions can command high prices on the secondary market, with dedicated collectors willing to pay a premium for these prized possessions.
Level 2: Investment Value
For some collectors, Snorlax plush toys have become more than just a hobby or passion – they have become an investment. With the potential for appreciation in value over time, certain Snorlax plush toys are seen as lucrative assets within the collector’s market, further driving their appeal and desirability.
Part 5: The Future of Snorlax Plush
Level 1: Ongoing Innovation
As the Pokemon franchise continues to evolve, so too will Plush Snorlax toys. Manufacturers are expected to explore new designs, materials, and concepts to keep the appeal of Snorlax toy fresh and exciting for fans and collectors.
Level 2: Continued Popularity and Demand
With the enduring popularity of Snorlax as a beloved Pokemon character, the demand for Snorlax plush toys is expected to remain strong in the foreseeable future. As new generations of fans discover the joy of Pokemon, the appeal of Snorlax plush is likely to endure and grow.

The Perfect Gift
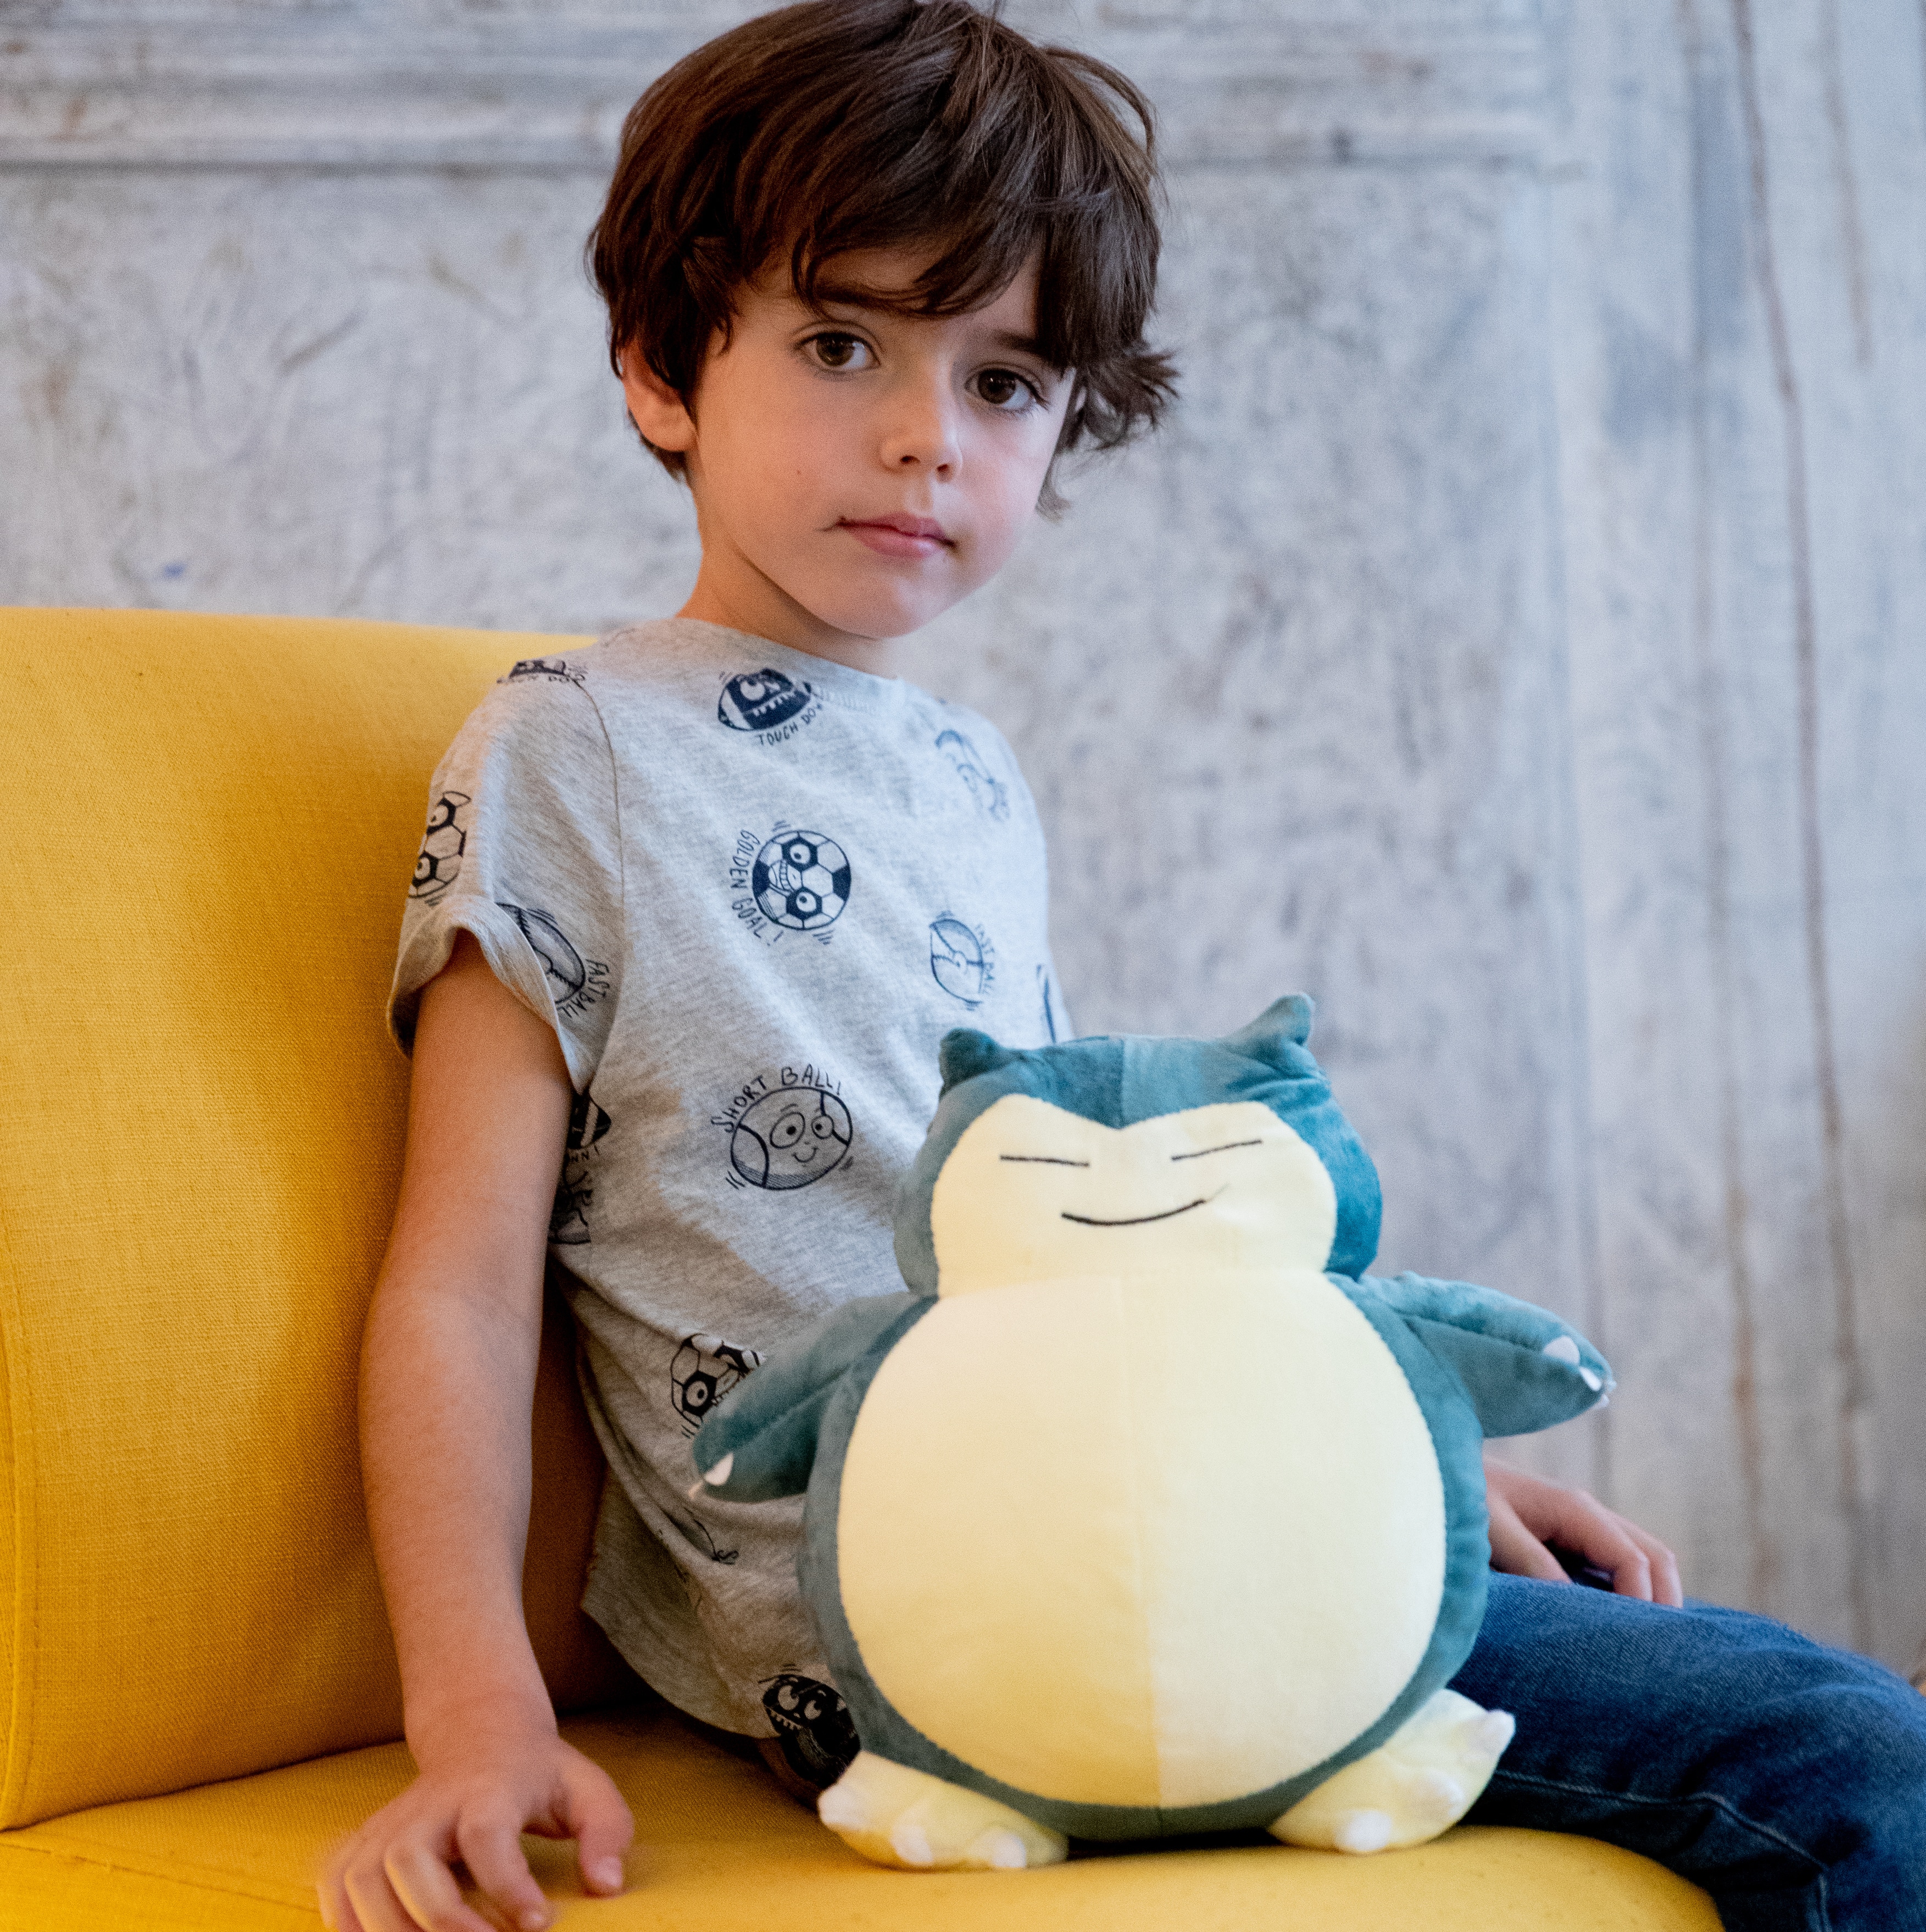
The Snorlax plush is a soft, cuddly toy that is often designed to be as close to the character’s appearance in the games and animated series as possible. The plush typically features Snorlax’s signature round body, sleepy eyes, and relaxed expression. The plush is often made with high-quality materials to ensure that it is both durable and huggable. And making it the perfect companion for Pokémon fans.
Level 1: The Perfect Gift
Looking for the perfect gift for a Pokémon fan in your life? A Snorlax plush could be just the ticket. The cuddly and huggable nature of a Snorlax plush is sure to bring a smile to anyone’s face.
Level 2: Collectible Item
For avid Pokémon collectors, a Snorlax plush is a must-have addition to their collection. With its intricate details and high-quality materials, a Snorlax plush is not just a toy, but also a valuable collectible item that can be displayed with pride.
Educational Tool and Stress Relief
Level 1: Educational Tool
Snorlax plush toys can also serve as educational tools for young children. They can be used to teach kids about the different types of Pokémon and their unique traits. Additionally, children can learn about the importance of rest and relaxation from Snorlax, who is known for its love of sleeping and lounging.
Level 2: Stress Relief
In addition to being a cute and cuddly toy, a Snorlax plush can also serve as a stress relief tool for adults. Squeezing, cuddling, or simply looking at a Snorlax plush can provide comfort and help reduce feelings of stress and anxiety.
Customizable Options
Snorlax is a beloved character from the Pokémon franchise, first introduced in the original Pokémon games as a powerful and sleepy creature. Known for its large size and its love for sleeping and eating, Snorlax has become a fan favorite over the years. As a result, Plush Snorlax toys have become incredibly popular among Pokémon fans of all ages. Plush Snorlax toys can be found in many stores that sell Pokémon merchandise, as well as online retailers.
Level 1: Customizable Options
Many Snorlax plush toys come in various sizes and styles, allowing buyers to choose the perfect option for their needs. Whether you prefer a small, handheld plush or a large, life-sized one, there are options available to suit your preferences.
Level 2: Versatile Uses
Aside from being a beloved toy, Plush Snorlax toys can also be used as decorative items in a home or office. Their adorable and recognizable appearance makes them a fun addition to any space, adding a touch of whimsy and personality.

Conclusion
Due to its popularity, the Snorlax plush is often a sought-after item and can be a valuable addition to a Pokémon collection. Collectors often seek out rare or limited edition versions of the plush. Making them highly desirable among fans of the franchise. Some versions of the Snorlax plush as exclusive items at special events or through specific retailers, are adding an element of collectibility to the toy.
The Snorlax plush is not only a beloved toy, but it also serves as a reminder of the character’s endearing qualities. Snorlax is known for its love of sleeping and eating, as well as its gentle nature. Making it a fan favorite in the Pokémon world. The plush allows fans to bring a piece of this beloved character into their homes, whether as a cute decoration or a comforting cuddle buddy.
Throughout its evolution, Snorlax plush has gone from a simple merchandise item to a coveted collector’s item. With its endearing appeal and timeless charm, Snorlax toy continues to capture the hearts of Pokemon fans around the world. As the Pokemon franchise moves forward, enthusiasts can expect to see even more innovation and excitement in the world of Snorlax toy. Whether as a cherished childhood toy or a valuable investment. Snorlax plush remains a beloved symbol of the enduring magic of Pokemon.