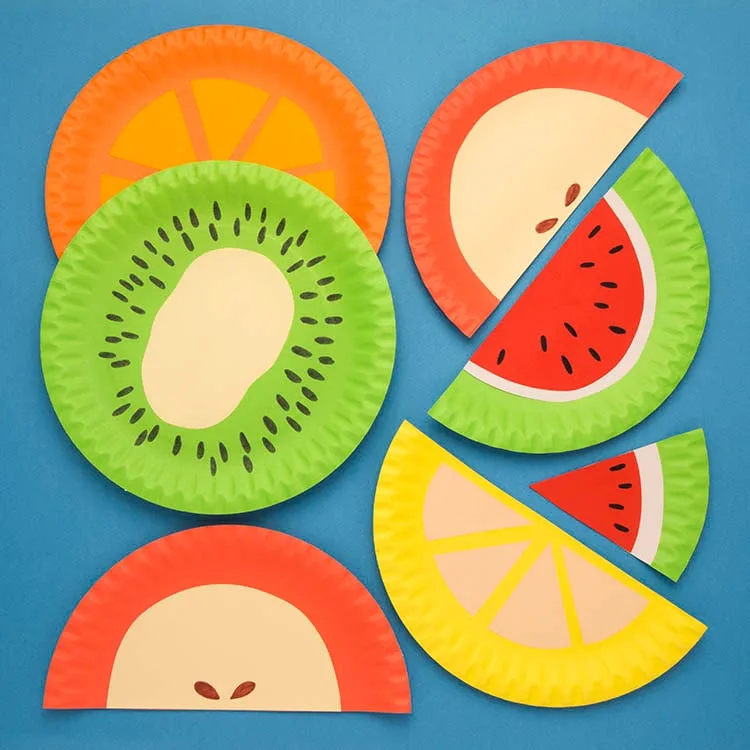
Part 1: Easy Paper Plate Crafts for Young Kids
Paper plates are versatile and affordable materials that can be transformed into various creative projects. In this section, we will explore two easy paper plate arts and crafts activities that are perfect for young kids to enjoy.
- Paper Plate Sunflower: Materials needed:
- Paper plate
- Yellow and brown paint
- Paintbrushes
- Scissors
- Glue
- Yellow construction paper or tissue paper
Instructions:
- Start by painting the entire surface of the paper plate with yellow paint. Let it dry.
- Cut petals out of yellow construction paper or tissue paper. You can create a template for the petals and trace them onto the paper for younger children to cut out.
- Apply glue to the back of the petals and attach them around the rim of the paper plate, creating a sunflower shape.
- Paint the center of the paper plate with brown paint or use a brown marker to draw a circle.
- Let the sunflower dry and display it proudly, or use it as a decoration for your home.
- Paper Plate Mask: Materials needed:
- Paper plate
- Markers, crayons, or paint
- Scissors
- Glue
- Optional: craft materials like feathers, buttons, and yarn for embellishments
Instructions:
- Start by cutting out eye holes in the paper plate, ensuring they are at the right height for the child’s face.
- Let the child use markers, crayons, or paint to decorate the paper plate mask in any desired colors or patterns.
- Encourage the child to get creative and add embellishments like feathers, buttons, or yarn to make the mask unique.
- Once the mask is fully decorated and any glue has dried, it’s ready for the child to wear and engage in imaginative play.

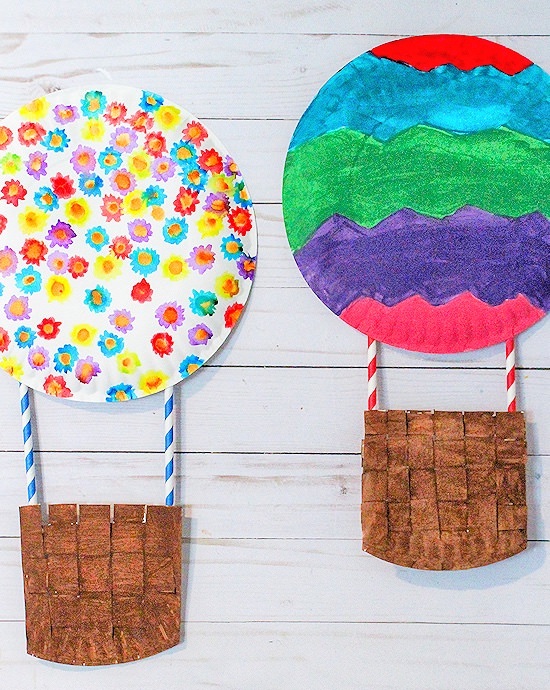
Part 2: Intermediate Paper Plate Crafts for Older Kids and Teens
As children grow older, they can handle more intricate crafts using paper plates. In this section, we will explore two intermediate level paper plate arts and crafts activities that will challenge their creativity and provide a sense of accomplishment.
- Paper Plate Dream Catcher: Materials needed:
- Paper plate
- String or yarn
- Beads or feathers (optional)
- Scissors
- Hole puncher
Instructions:
- Begin by cutting the center of the paper plate out, leaving only the outer rim.
- Use a hole puncher to make evenly spaced holes along the inner edge of the paper plate rim.
- Cut a long piece of string or yarn and tie one end securely to one of the holes in the rim.
- Show the child how to weave the string or yarn in and out of the holes, creating a web-like pattern.
- Encourage them to add beads or feathers to the strings as they weave for added decoration.
- Once the web is complete, tie the loose end of the string or yarn to a hole to secure it.
- Attach a string or yarn loop to the top of the dream catcher for hanging.
- Paper Plate Flower Wreath: Materials needed:
- Paper plates
- Paint in various colors
- Paintbrushes
- Scissors
- Glue
- Ribbon or twine for hanging
- Optional: craft materials like buttons or pom-poms for embellishments
Instructions:
- Cut out the center of each paper plate, leaving only the outer rim.
- Let the child paint the paper plate rims in various colors, creating a vibrant collection of flowers. They can use different paintbrush techniques, such as dotting or brush strokes.
- Allow the painted paper plate rims to dry completely.
- Cut out flower shapes from the dried painted paper plate rims. The child can either freehand the shapes or use a template.
- Arrange the cut-out flower shapes and glue them onto a larger paper plate to create a wreath.
- Optional: Add embellishments like buttons or pom-poms to the center of each flower for additional detail.
- Attach a ribbon or twine loop to the back of the wreath for hanging.
Part 3: Advanced Paper Plate Crafts for Adults and Expert Crafters
Paper plates can also be transformed into more complex and sophisticated crafts by skilled crafters. In this section, we will explore two advanced level paper plate arts and crafts activities that will challenge adult crafters and provide an opportunity to showcase their creativity.
- Paper Plate Mobile: Materials needed:
- Paper plates
- Acrylic paint
- Paintbrushes
- Scissors
- String or fishing line
- Hole puncher
- Embellishments like beads or sequins (optional)
Instructions:
- Cut out various shapes from the paper plates, such as flowers, animals, or geometric patterns. The shapes can be freehand or traced from templates.
- Paint the paper plate shapes with acrylic paint in any desired colors or patterns. Let them dry completely.
- Optional: Add embellishments like beads or sequins to the painted shapes for extra flair.
- Use a hole puncher to make holes at the top of each shape.
- Cut pieces of string or fishing line to different lengths and thread them through the holes in the shapes.
- Tie the loose ends of the strings or fishing lines to a larger circle made of a paper plate or a wooden hoop to create a mobile structure.
- Hang the mobile from the ceiling or in front of a window to showcase the beautiful paper plate shapes.
- Paper Plate Wall Art: Materials needed:
- Paper plates
- Craft knife
- Acrylic paint
- Paintbrushes
- Scissors
- Glue
- Optional: decorative materials like paper, fabric, or dried flowers
Instructions:
- Cut out specific shapes or designs from the paper plates using a craft knife. These shapes can be inspired by nature, geometric patterns, or any other desired theme.
- Paint the cut-out shapes with acrylic paint, using different colors and techniques to add depth and visual interest.
- Allow the painted shapes to dry completely.
- Arrange the painted shapes on a larger paper plate or canvas to create a unique composition.
- Optional: Add additional textures or materials like paper, fabric, or dried flowers to enhance the artwork.
- Once the arrangement is finalized, glue the shapes and any additional materials onto the base.
- Let the glue dry completely before displaying the paper plate wall art on a prominent wall in your home.

In conclusion, DIY paper plate arts and crafts activities offer an affordable and engaging way to unleash creativity and create unique decorations. From easy paper plate crafts for young kids to intermediate level projects for older kids and teens, and advanced level crafts for adults and expert crafters, there is a paper plate project suitable for every skill level. So, gather your materials, let your imagination run wild, and embark on an exciting journey of creating affordable and charming paper plate crafts that will bring joy and personality to your home.